
The short answer: set the finished line before you dig
A durable privacy hedge begins with the space it will occupy at maturity. Confirm the property line and utilities, measure the available width, check sun and winter drainage, then choose one documented cultivar and calculate centre-to-centre spacing from its mature spread. Lay out every plant before opening the soil. Install shrubs at the same depth they grew in the container, correct circling roots, backfill with site soil, water each root ball, and mulch the row without covering stems.
- Plant now: the line is confirmed, soil is workable and draining, plants are healthy, and there is room for mature width and maintenance access.
- Correct first: spacing is based on pot size, the row crosses a downspout or buried service, roots circle the containers, or grade varies along the run.
- Pause the job: water stands in the trench, the boundary is uncertain, mixed cultivars have incompatible sizes, or the proposed screen will depend on permanent severe pruning.
Hedge installation looks repetitive, but small errors also repeat. One shrub planted too deep is a problem; twenty shrubs planted too deep create an expensive failing row. In Surrey, Langley, and White Rock, cool fall conditions can be useful for establishment, while prolonged rain can reveal compacted soil and low spots that should not be planted as-is. The aim is not the tightest instant wall. It is an even row with enough root space, light, and access to grow into the intended screen.
Mark the hedge line, boundaries, and working clearances
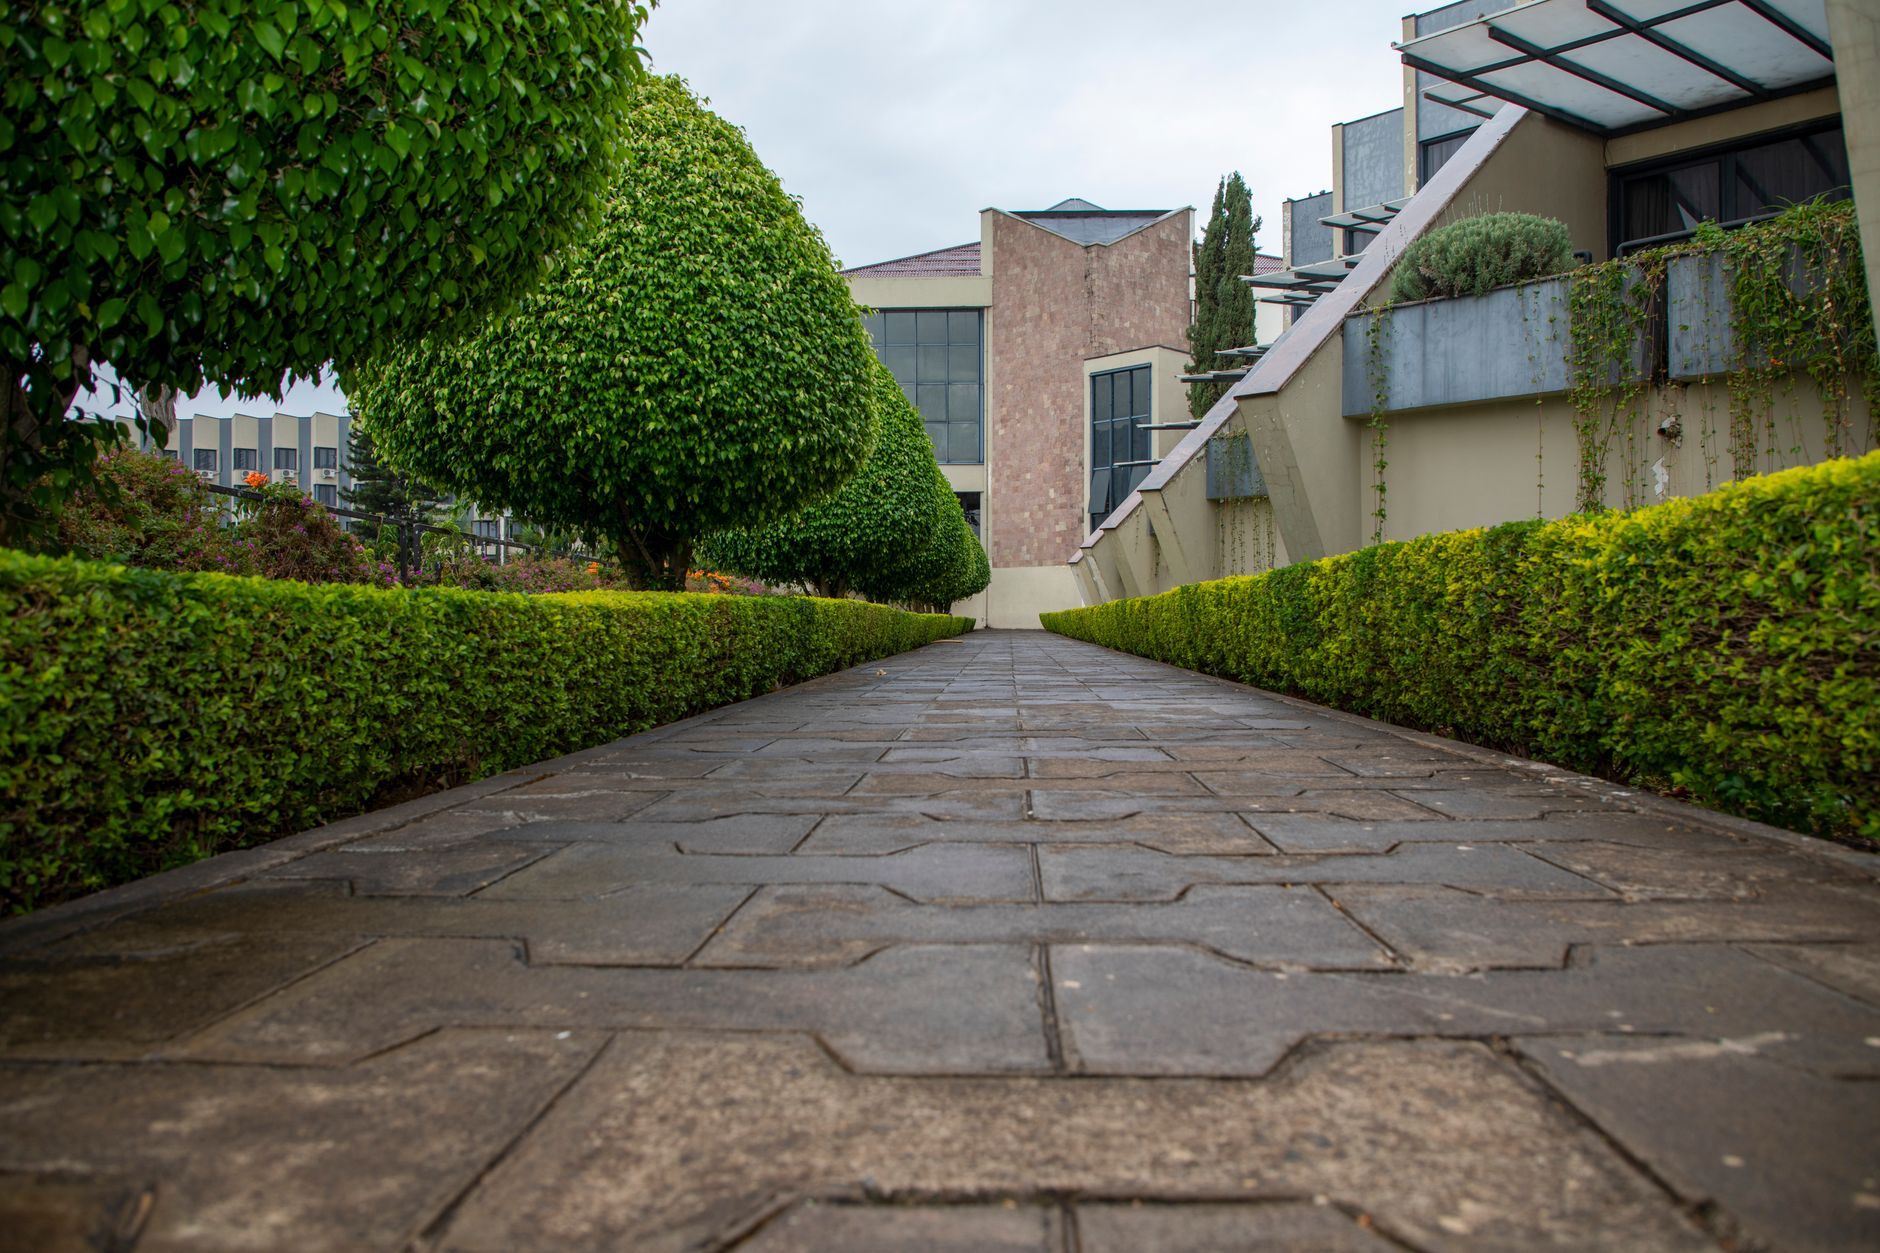
Start with a string line, not a shovel. Confirm where the property boundary actually lies and set the hedge inside it far enough that mature foliage and routine pruning can be handled from your property. Leave gates, meters, utility equipment, sight lines, eaves, fences, and paths usable. A narrow young plant can hide how much working room its mature shoulders will require.
Submit a BC 1 Call locate request before excavating. The service identifies participating utility-owner infrastructure, but private irrigation, lighting, drains, and lines beyond a meter may require separate records or a private locator. Also map downspouts and low areas; a straight visual line is not automatically a uniform rooting environment.
Ready to lay out
- the property line and intended ownership of the hedge are clear;
- utility responses and private-service information are available;
- both faces can be reached for inspection and pruning;
- the screen will not block required access or visibility.
Revise the line
- branches would need to live over a neighbour’s property;
- roots or excavation conflict with services or structures;
- a downspout discharges into part of the proposed row;
- the only maintenance position is inside a narrow gap.
Calculate spacing from mature spread, not nursery pot width

Read the exact nursery tag and reliable cultivar information for mature height and spread. Species names alone are not enough: cultivars sold under the same common name can differ greatly. Oregon State University Extension, for example, describes ‘Emerald Green’ arborvitae as roughly 12–15 feet tall and 3–4 feet wide, while ‘Green Giant’ can become 40–60 feet tall and 12–18 feet wide. Those are not interchangeable privacy plants for a compact yard.
Mark centres along the string, then place every pot on its mark and review the whole run from each end. Spacing a narrow cultivar around its expected mature width allows neighbouring plants to meet without forcing severe competition immediately. A supplier may recommend a range for a particular cultivar and desired finish; record that recommendation rather than applying a universal hedge number.
- Too close: early density, but more root competition, trapped dead material, difficult inspection, and repeated hard shearing.
- Too wide: persistent gaps even when each plant reaches its normal form.
- Mixed stock: uneven height, width, colour, and growth rate unless the variation is an intentional mixed screen.
If the site can support a layered screen rather than one clipped row, a deliberate mix can provide better resilience and habitat. That is a design decision, not a substitute for checking each plant’s eventual size. The existing privacy-hedge selection guide compares plant and site trade-offs before installation.
Check drainage and grade across the entire run

A hedge crosses more ground than one specimen shrub. Probe several points, especially changes in slope, filled areas, fence posts, and downspout outlets. Compare how quickly test holes drain after rain. The yard-drainage guide provides a practical sequence for separating ordinary wet-season moisture from a persistent drainage problem.
Do not make a deep continuous trough that becomes a bathtub in clay. Prepare a broad planting zone where practical, while leaving firm soil under each root ball so the row cannot settle unevenly. On a slope, follow the intended finished grade and manage runoff without building low dams around individual stems. If one section remains saturated, correct the water source, redesign the grade, or choose plants genuinely suited to those conditions.
Workable planting soil
- moist soil breaks apart instead of smearing into a sealed surface;
- test holes drain rather than remaining full;
- root-ball tops can follow a stable finished grade;
- runoff will not collect against the hedge.
Stop and solve drainage
- water persists in only one low section of the row;
- excavation exposes compacted construction fill;
- the plan relies on burying plants deeper to level their tops;
- a downspout or neighbouring runoff feeds the planting trench.
Inspect every root ball before it disappears

Choose plants of consistent cultivar, size, branching, and health. Reject dried root balls, major stem injury, severe lean, and root systems so deformed that correction would remove much of the functional root mass. Before planting, water dry containers and keep the stock shaded and protected from wind. Never lift a shrub by its stems.
Remove the pot and inspect every side and the bottom. University of Minnesota Extension recommends straightening or removing crossing and circling roots rather than leaving them in the container pattern. Gently loosen moderate roots outward; make clean corrective cuts where a dense mat cannot be teased apart. The objective is outward growth into surrounding soil, not destruction of the root ball.
- Find the original top of the root ball and expose buried stem bases.
- Remove labels, ties, synthetic wrap, and material that can constrict growth.
- Keep roots damp while the next hole or section is prepared.
- Set aside a plant if its roots, identity, or condition do not match the row.
Plant to a consistent depth and align before backfilling

Dig each position broad enough to spread corrected roots, but no deeper than the root system. Shrubs generally return to the depth at which they were growing; do not bury stems to compensate for different plant heights. Rest each root ball on firm soil, check its centre against the layout mark, and look down the row before adding backfill.
Use the excavated site soil unless a broader bed-improvement plan calls for an amendment across the whole rooting area. A rich pocket in each hole does not repair compacted clay or poor drainage. Return soil in lifts, break up large clods, and settle obvious voids without pounding the root zone solid. Recheck line, vertical alignment, and grade after partial backfilling, when correction is still easy.
- Place all pots on their marked centres and approve the rhythm.
- Plant the end shrubs first and keep the string clear of foliage.
- Set each root ball at its proper depth on firm soil.
- Backfill partway, align from two directions, then finish.
- Water each plant individually and correct settlement immediately.
Do not shear different plant heights into one hard top on planting day. Correct position and grade first; allow the plants to establish before making light formative cuts appropriate to the species.
Mulch the whole row without covering stems

Spread a loose organic mulch layer across the disturbed planting strip. A continuous band reduces competition from turf and weeds and moderates moisture better than small decorative circles. Keep mulch clear of every stem base and do not hide the original root-ball surface. The separate mulching guide explains depth and repair of existing mulch mounds.
In wet Lower Mainland soil, thicker is not automatically better. Mulch slows drying, so use a moderate, even layer and inspect the soil beneath it before watering. Extend coverage outward as the bed allows instead of piling extra material at the plant centres.
- Good finish: broad, even, loose, and pulled back from stems.
- Too deep: root-ball tops vanish and lower stems stay damp.
- Too narrow: grass immediately competes with the new root zone.
Water each root ball, then adjust for rain and soil

Water every shrub thoroughly after planting, even in cool weather, to settle soil around roots and reveal low spots. Afterward, check the original root ball and adjoining soil rather than watering the row only by calendar. Container media can dry faster than surrounding clay, while a low root ball can stay saturated after the surface looks normal.
During the first dry season, apply water slowly enough to wet each root zone without runoff. Oregon State University Extension notes that established arborvitae can still suffer drought damage during dry periods; newly planted stock has even less soil volume to draw from. The new-tree and shrub watering guide gives a hands-on moisture-check routine.
Dry root ball
Water slowly at the plant, confirm penetration below the surface, and check whether potting media is shedding water.
Wet surrounding clay
Delay irrigation and investigate drainage; yellowing and decline are not automatic evidence of drought.
Uneven row
Check emitter output, grade, wind exposure, and root-ball condition plant by plant rather than increasing water everywhere.
Let roots establish before chasing a perfectly clipped wall
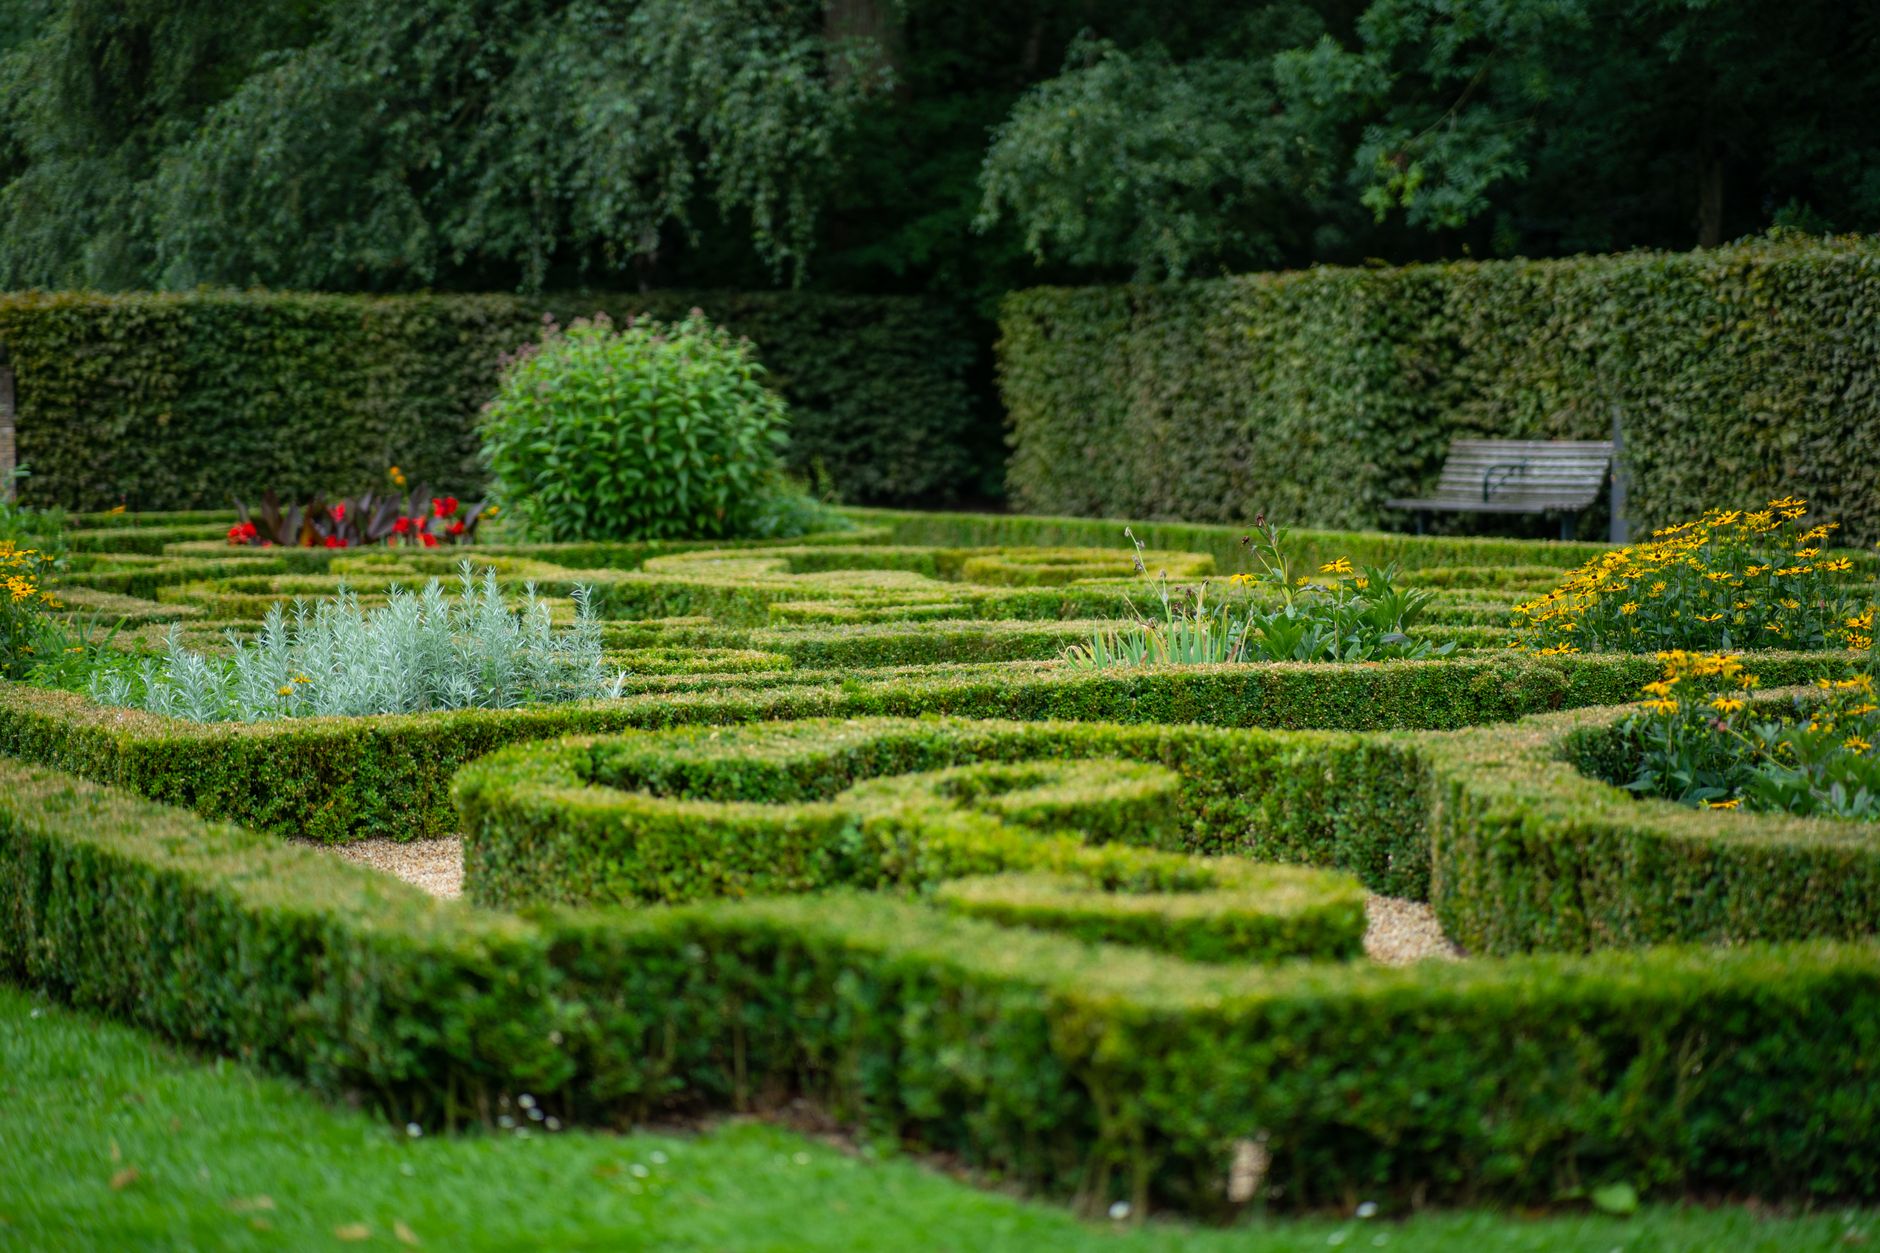
Remove broken branches and obvious defects at planting, but avoid heavy cosmetic pruning that strips foliage from already stressed plants. Begin light formative pruning only after the hedge is growing, and keep the base at least as wide as the top so lower foliage receives light. Species matter: Oregon State University Extension warns that arborvitae generally do not regrow reliably when cut back into bare stems.
Inspect the row monthly through establishment. Look for settlement, buried stems, loose root balls, dry container media, standing water, broken leaders, and ties or labels left in place. If one plant declines, diagnose its root zone and stock condition before replacing it. Repeating the same drainage, depth, or irrigation error usually kills the replacement too.
- Healthy progress: stable plants, retained foliage, new extension growth, and moisture that changes predictably after rain or irrigation.
- Correctable issue: thin mulch, minor settlement, a blocked emitter, or light rubbing that can be fixed before damage spreads.
- Investigate promptly: one persistently wet plant, patchy browning, a rocking root ball, exposed roots, or repeated dieback after shearing.
A privacy hedge is a long-term planting system, not a row of independent decorations. When the boundary, drainage, access, cultivar, or stock size makes the layout uncertain, Atkinson Landscaping can review the site before the repeated mistake is installed twenty times.
References and further reading
- Oregon State University Extension: How to plant and care for arborvitae hedges
- Oregon State University Extension: A Guide to Hedgerows
- University of Minnesota Extension: Planting Trees and Shrubs
- City of Surrey: Planting Trees
- BC 1 Call: Homeowner locate requests