
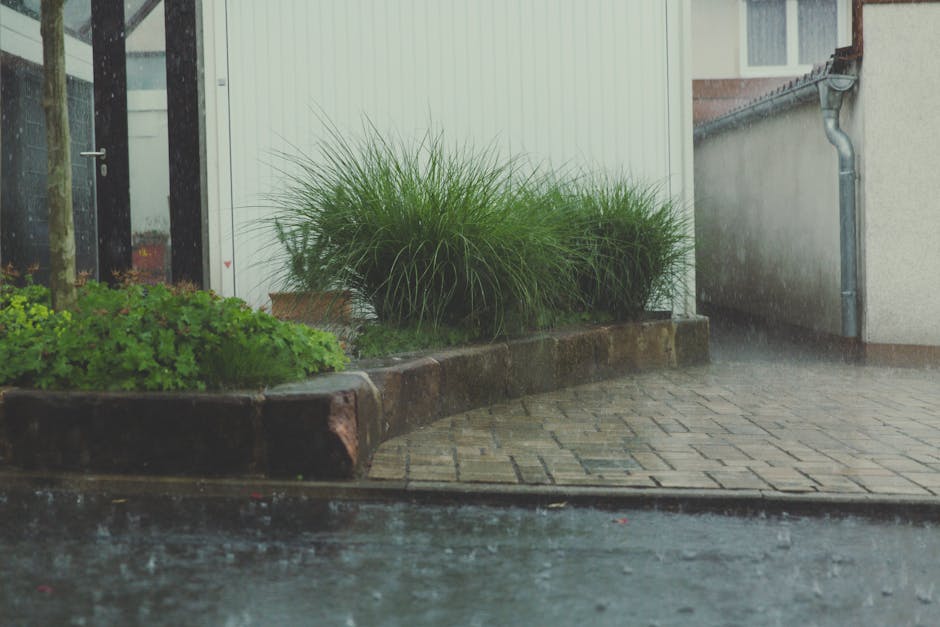
The short answer: solve the water pattern before the planting hole
Clay soil is not automatically bad soil. It can hold nutrients and moisture well, but its small pores drain slowly and it is easily compacted when wet. In Surrey and Langley, first learn whether the bed is simply clay-rich, compressed by construction, or receiving more water than it can release. Then plant high enough to keep the root flare visible, prepare a broad area rather than a narrow amended pocket, and choose plants for the moisture pattern that remains.
- Diagnose first: texture, compaction and poor site drainage are related but not interchangeable.
- Do not work saturated clay: digging and walking on it can destroy useful pore space.
- Avoid the bathtub: a heavily amended planting hole surrounded by dense soil can collect water around roots.
- Plant for the real site: “moisture tolerant” does not mean able to live indefinitely in stagnant water.
Heavy soil often gets blamed after a tree or shrub declines, but the useful question is not simply “Do I have clay?” It is “How much air and drainage will this root zone have through a Lower Mainland winter?” The answer changes the plant choice, planting height and whether the site should be planted at all.
Confirm that clay is actually the constraint

Take samples from several spots and depths. Clay-rich soil tends to feel smooth and sticky when damp and can be rolled into a ribbon; compacted loam may feel hard in place but break into a more varied mix of particles. A shallow compacted layer over better soil needs a different response from deep, naturally fine-textured soil.
Texture
Soil stays slick and mouldable when damp, then forms hard clods as it dries.
Compaction
Roots, water and a garden fork meet abrupt resistance at a consistent depth, often beside paving or recent construction.
Excess input
Roof leaders, irrigation, neighbouring grades or a low spot deliver more water than the bed would receive from rain alone.
Root evidence
Old roots remain shallow, circle wet pockets or die back where the soil stays airless.
Check drainage across the whole bed

A planting hole is not a drainage test for an entire yard. Watch the proposed bed during sustained rain. Note where runoff enters, where it leaves, and whether water remains at the surface after nearby ground has cleared. Check downspouts, hardscape edges and the direction of the grade.
- Use the yard drainage assessment before purchasing plants.
- Compare more than one location; a small change in grade can create a very different root environment.
- Confirm that any raised bed has a safe overflow route and will not hold water against a fence or building.
- Escalate persistent ponding, foundation-adjacent water or uncertain buried drainage to qualified assessment.
Adding soil over a wet low point without addressing where the displaced water goes can move the problem rather than solve it.
Keep traffic and tools off saturated soil

Wet clay is vulnerable to smearing and compaction. A shovel can polish the sides of a planting hole into a smooth barrier, while boots and wheelbarrows squeeze out the larger pores that roots need for air and water movement. If soil sticks heavily to tools and compresses into a glossy mass, postpone cultivation.
- Work when the soil is moist enough to crumble rather than smear.
- Use defined access routes or boards when entry cannot be avoided.
- Loosen glazed planting-hole faces before setting the plant.
- Do not use repeated deep cultivation as a substitute for correcting traffic or drainage.
Improve a broad area with organic matter—not a pocket of sand
Oregon State University Extension describes organic matter as a practical way to improve water infiltration, aeration and workability over time. For a new bed, use mature compost according to the site and material, and integrate improvements across the future root area. For an established bed, surface additions and mulch allow gradual incorporation with less root disturbance.
Do not assume that a small amount of sand will turn clay into loam. An unsuitable sand-to-clay mix can remain dense and difficult to manage. Likewise, replacing most of the soil in one hole with rich amendment creates a sharp texture boundary: water and roots may behave differently inside the pocket than in the surrounding ground.
Plant wide, shallow and with the root flare visible
The International Society of Arboriculture advises locating the trunk flare and planting so it remains visible. Dig no deeper than needed for the root ball, and make the opening substantially wider so early roots can move into loosened soil. In slow-draining ground, a slightly proud root ball is safer than burying the flare, provided exposed sides are tapered and covered appropriately rather than leaving roots exposed.
- Remove excess soil from the top of the container or root ball until the first structural roots and flare are found.
- Set the plant on firm, undisturbed soil so it does not settle deeper later.
- Backfill primarily with the excavated site soil unless a broader bed-improvement plan calls for a consistent mix.
- Water to settle soil around roots, then adjust future watering from actual root-zone moisture—not a fixed calendar alone.
The City of Surrey also emphasizes exposing the root flare, using a wide hole and watering the root ball rather than only wetting the surrounding surface.
Choose plants for winter wetness and summer drying

Lower Mainland clay can be wet in winter and firm or dry near the surface in summer. Select for both ends of that cycle. Read the full botanical and cultivar label, then verify mature size, light, moisture range and cold hardiness. A plant that accepts “moist soil” may still fail where the root zone stays flooded.
Better candidates
- have documented tolerance for the measured moisture pattern, not merely generic “tough plant” marketing;
- fit the site's light and mature-space limits;
- can be watered during establishment without keeping neighbouring wet-sensitive plants saturated;
- are not listed as invasive in British Columbia.
Reasons to reject a plant
- the tag requires freely drained soil but winter water remains in the bed;
- its mature size forces planting against paving, drains or foundations;
- the choice depends on permanently raising the crown with a small mound that will erode;
- the seller's description cannot be tied to the exact species or cultivar.
The plants and planting options page provides context for planning an installed bed, but final selections still need site-specific checking.
Mulch the surface without burying the crown

Organic mulch reduces surface crusting, buffers moisture swings and keeps routine foot traffic away from the root zone. Spread it as an even layer over the bed and pull it back from trunks, stems and crowns. The tree and shrub mulching guide shows the placement in more detail.
Continue checking beneath the mulch by touch. A damp surface can hide a dry root ball, while frequent irrigation can keep a clay root zone wet long after the top looks ready for more water.
Know when to plant, redesign or stop

Proceed when
- the bed drains predictably and does not collect outside runoff;
- soil is workable rather than saturated or glazed;
- plant tolerance matches winter and summer conditions;
- the root flare, planting height and future watering can be managed correctly.
Redesign or get assessment when
- water ponds repeatedly or sits near a building;
- the only plan is to fill one deep hole with imported soil;
- construction compaction, buried services or drainage outlets are uncertain;
- previous plants have failed from the same unresolved root-zone condition.
Bring photos after rain, a simple grade sketch and notes from test locations when you seek advice. Atkinson Landscaping can review the site when planting, grading and drainage decisions need to be resolved together.
References and further reading
- International Society of Arboriculture: Planting a Tree
- Oregon State University Extension: Improving Garden Soils with Organic Matter
- Royal Horticultural Society: Clay soils
- City of Surrey: Tree watering and care