

The short answer: plant to the root flare, not the top of the pot
A correctly planted tree sits on firm, undisturbed soil with its first structural roots and trunk flare visible at finished grade. Prepare a hole roughly two to three times wider than the root ball but no deeper than the measured root system. Correct circling roots and remove obstructive packaging, set the tree upright, then backfill with the excavated site soil. Water the root ball and surrounding soil, add an even mulch layer without touching the trunk, and stake only if the root ball cannot remain stable.
- Plant now: the site drains, utilities are located, the tree fits at mature size, and the soil is workable rather than saturated.
- Correct before planting: the flare is buried in the container, roots circle the pot, the hole was dug too deep, or twine and synthetic material remain around the trunk.
- Pause the job: water fills the hole, the root ball is too heavy to handle safely, major roots are severely deformed, or the proposed location conflicts with services, structures, or permit requirements.
Tree planting is not mainly about digging a large hole. The decisive details are the final depth, the condition of the roots, and what happens during the first year. In Surrey, Langley, and White Rock, fall can offer cool planting weather, but Lower Mainland rain also exposes compacted and poorly drained sites. A tree installed into a wet bowl, buried below grade, or left with constricting roots can struggle even when the species itself suits the region.
Check the site and locate services before delivery
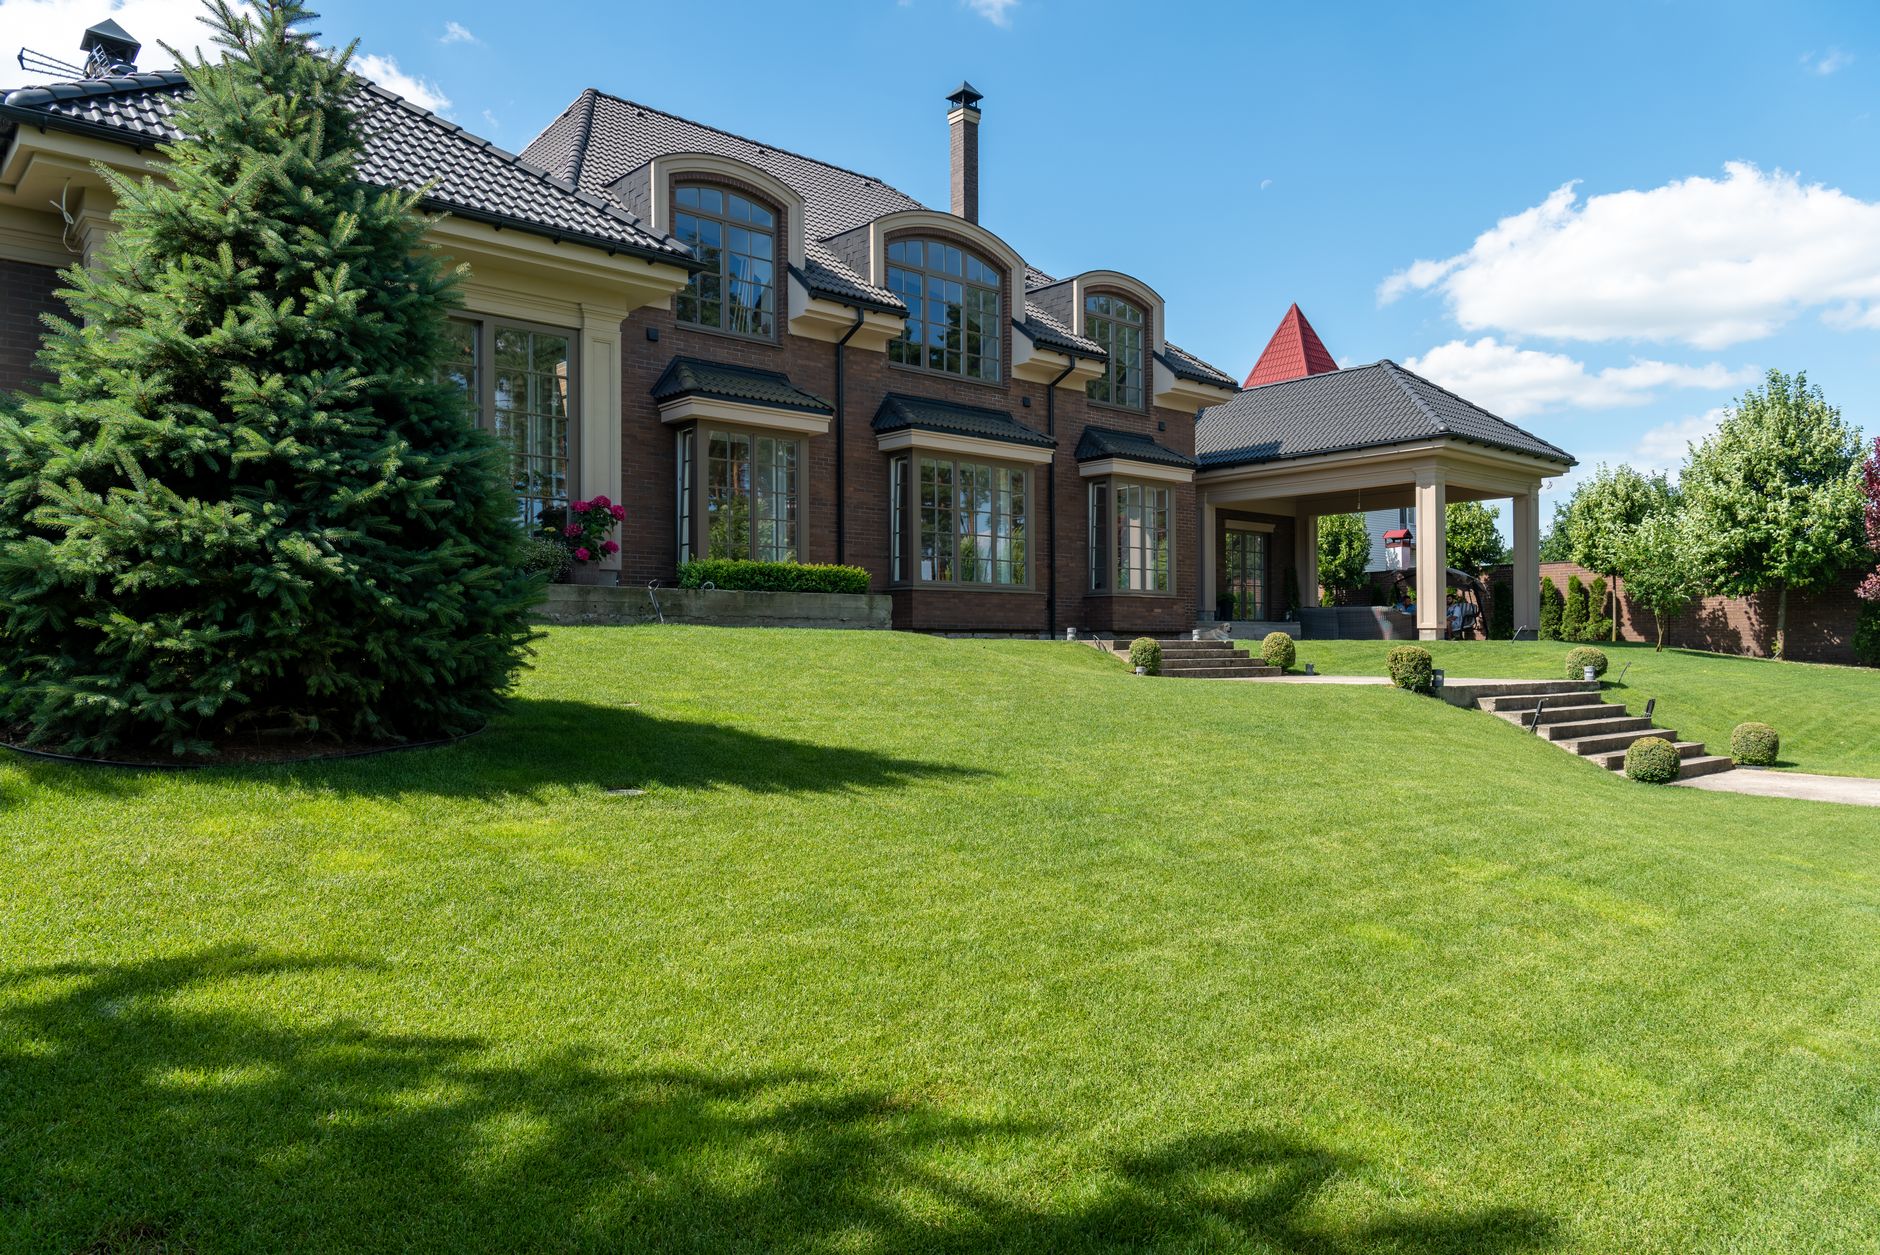
Confirm the location while the tree can still be moved. Check its documented mature height and spread against the house, overhead conductors, pavement, fences, views, and neighbouring property. The tree-placement guide covers those long-term clearances in detail. On the ground, mark downspouts, low areas, retaining walls, irrigation, drains, and the access route needed to bring the tree into place.
The City of Surrey tells property owners to contact BC 1 Call before digging. Submit a locate request and wait for the responses rather than assuming a shallow planting hole cannot reach a service. Utility-owner records may not identify every private drain, irrigation line, lighting cable, or service between a meter and a building, so local knowledge and a private locator may still be needed.
Site is ready
- the tree fits the space at maturity;
- underground and overhead conflicts are resolved;
- the soil drains and is firm enough to work;
- permit, strata, and replacement-tree conditions are understood.
Stop and revise
- the location depends on future severe pruning;
- the hole fills with water or smears like wet clay;
- a service, right-of-way, or boundary remains uncertain;
- the root ball cannot be moved and lowered safely.
Find the root flare before measuring the hole

The root flare is the widening at the base of the trunk where the first structural roots begin. It should remain visible after planting. Do not assume the surface of a container or burlapped ball is the correct depth: soil may have been added above the flare during nursery production or handling.
Gently remove loose material from the top of the root ball until the trunk flare and first substantial roots can be identified. Measure from that level to the bottom of the root system. That measurement—not the container height—sets the maximum hole depth. If a straight trunk disappears into the soil like a post, keep investigating before planting.
- Correct reference: the upper structural roots are visible and will finish at or slightly above surrounding grade.
- Too deep: the flare remains buried, the trunk enters soil without widening, or backfill will cover the lower bark.
- Too high: the root ball is left prominently exposed and cannot be covered with soil while keeping the flare clear.
Planting depth is difficult to repair after roots establish. Take the extra few minutes to expose and measure the flare before excavating.
Dig wide, but do not dig deeper than the root system
City of Surrey and International Society of Arboriculture guidance calls for a shallow, broad planting hole about two to three times the width of the root ball and no deeper than the measured root system. Keep the centre bottom firm and undisturbed so the tree cannot settle after rain. Widen and roughen compacted sidewalls without turning the base into loose fill.
Place the excavated soil beside the hole for backfilling. Keep sod, construction debris, and large rocks separate. If the site is clay-heavy, avoid creating a smooth-sided basin that holds water around a loose root ball. The clay-soil planting guide explains when the drainage pattern needs correction rather than a deeper hole.
- Measure the root system from the exposed flare to its base.
- Dig the centre no deeper than that measurement.
- Widen the opening toward the surface so roots have loosened soil to enter.
- Set the root ball in the empty hole and verify grade before removing support material.
If the tree sits low, lift it out and rebuild the base with firmly compacted site soil. Do not leave loose soil under the root ball and hope the height remains correct.
Correct container roots and remove obstructive packaging
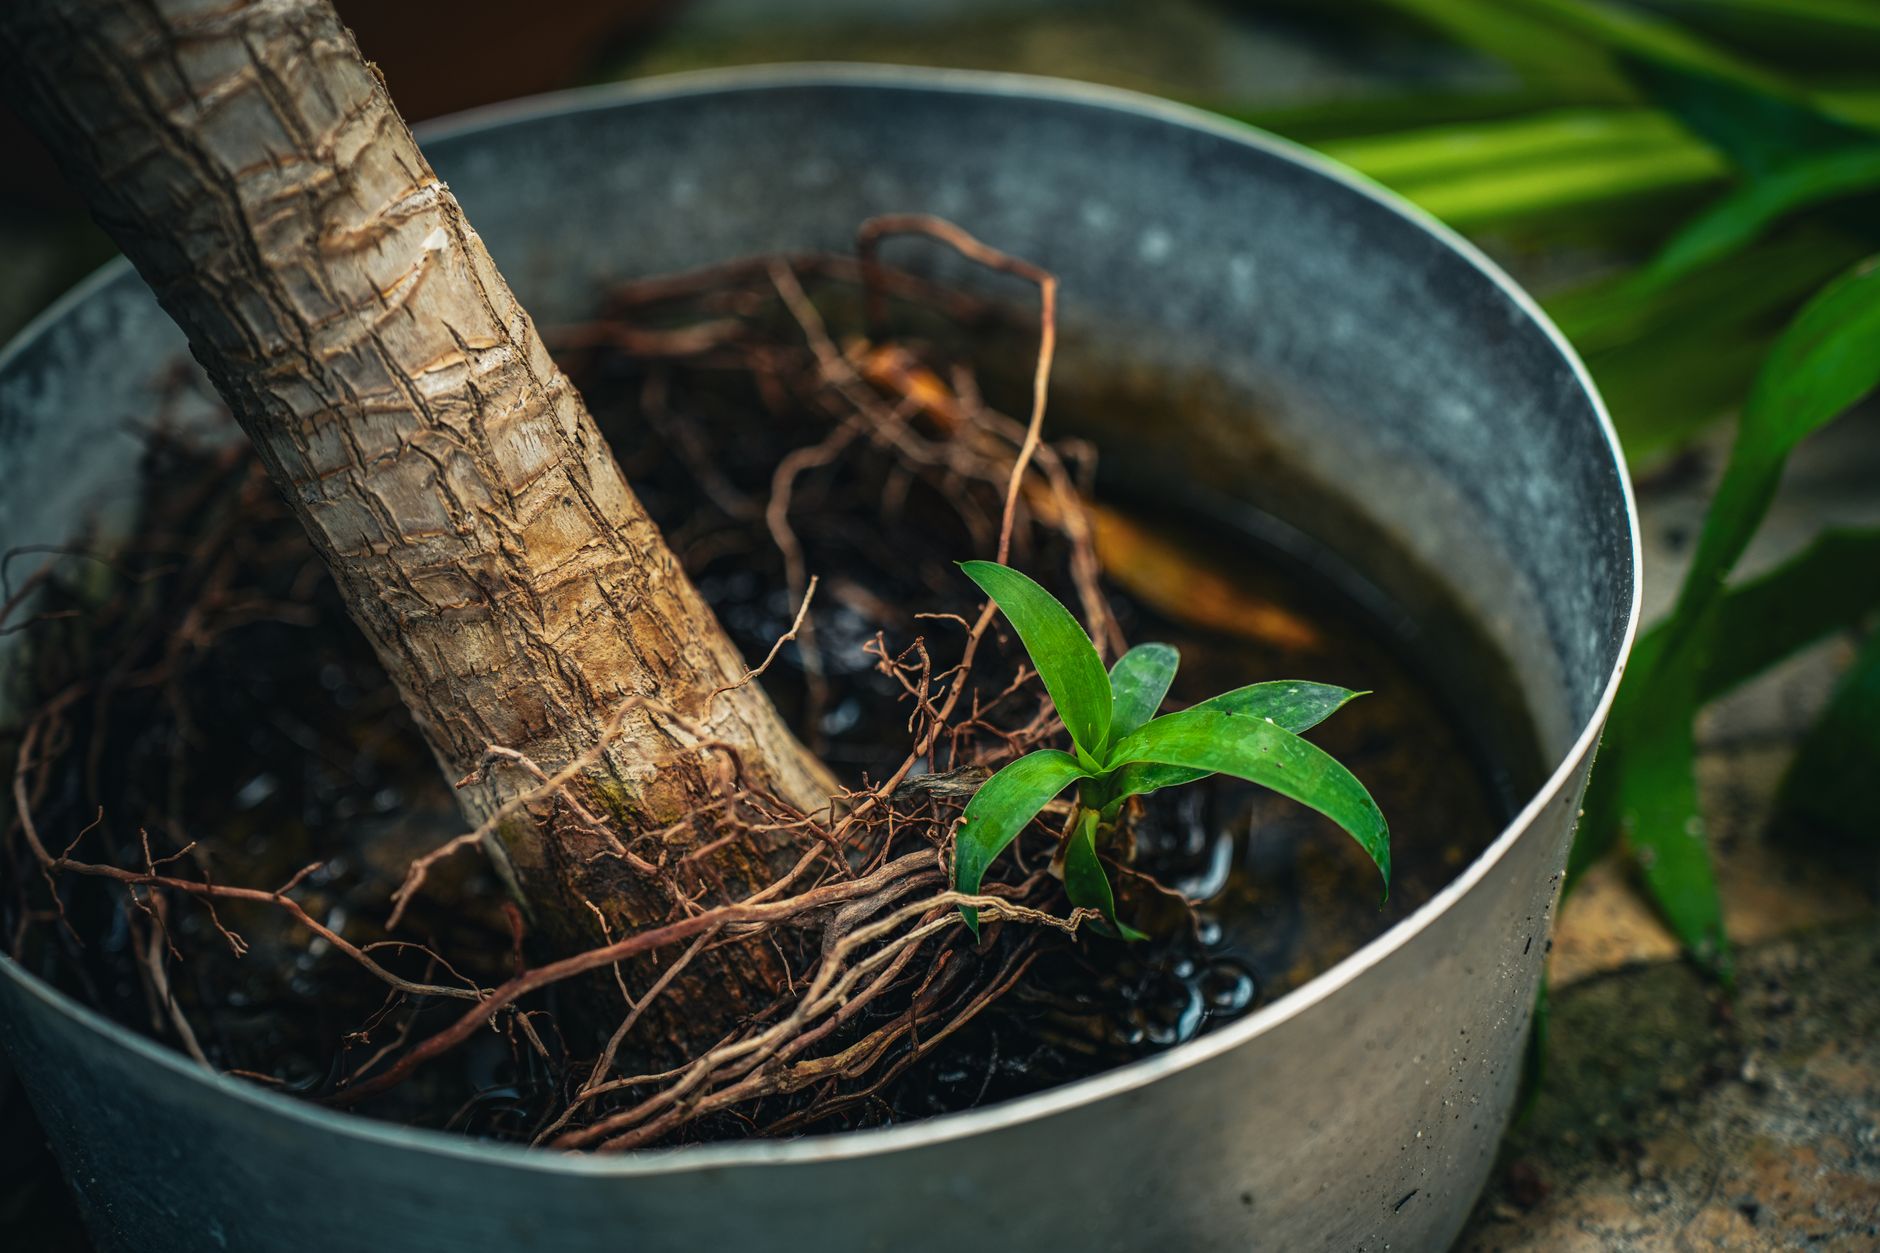
Slide a container-grown tree out by supporting the root ball, not pulling on the trunk. Roots that run around the outside of the pot will not reliably correct themselves simply because more soil is available. Loosen moderate circling roots and direct them outward; densely matted or woody girdling roots may need selective cutting. A severely deformed root system is a reason to reject or professionally assess the tree rather than bury the defect.
Balled-and-burlapped stock requires a different sequence. First stabilize the ball in the hole. Remove every tie from the trunk and expose the top of the ball. Remove synthetic wrapping and enough burlap and basket material that neither the flare nor future trunk and root growth is constricted. Guidance differs on complete basket removal because a large soil ball can break apart or become unsafe to handle. For large stock, preserve the ball and use the supplier’s specifications and a qualified installer rather than improvising.
Container stock
Remove the pot, expose the flare, inspect every side and the base, and correct circling or kinked roots before setting final depth.
Balled-and-burlapped stock
Set and stabilize first, then remove trunk ties, synthetic material, upper wrapping, and obstructive basket material without breaking the root ball.
Bare-root stock
Keep roots moist, spread them naturally over firm soil, and avoid bending long roots back into a small hole.
Set, straighten, and backfill with the excavated soil

Lower the tree by the root ball and check it from at least two directions. Rotate for the best branch and trunk orientation, but do not hide a lean by burying one side deeper. Confirm once more that the flare is at or slightly above finished grade and that the root ball rests on firm soil.
Return the excavated soil in lifts, breaking up large clods and working soil around the ball without crushing it. Water during backfilling if needed to settle soil into obvious voids, then finish gently firm rather than heavily compacted. Routine rich amendment in only the planting hole can create a sharp soil boundary and does not correct poor site drainage. A broader soil-improvement plan is different from filling one hole with potting mix.
- Do not put fertilizer or strong amendments directly against new roots unless a soil test and species-specific plan supports it.
- Do not pile unused soil over the root flare.
- Do not create a raised soil dam that directs winter water against the trunk.
- Prune only broken or clearly damaged branches at planting; structural pruning can wait until the tree recovers.
Stake only when the root ball cannot stay stable
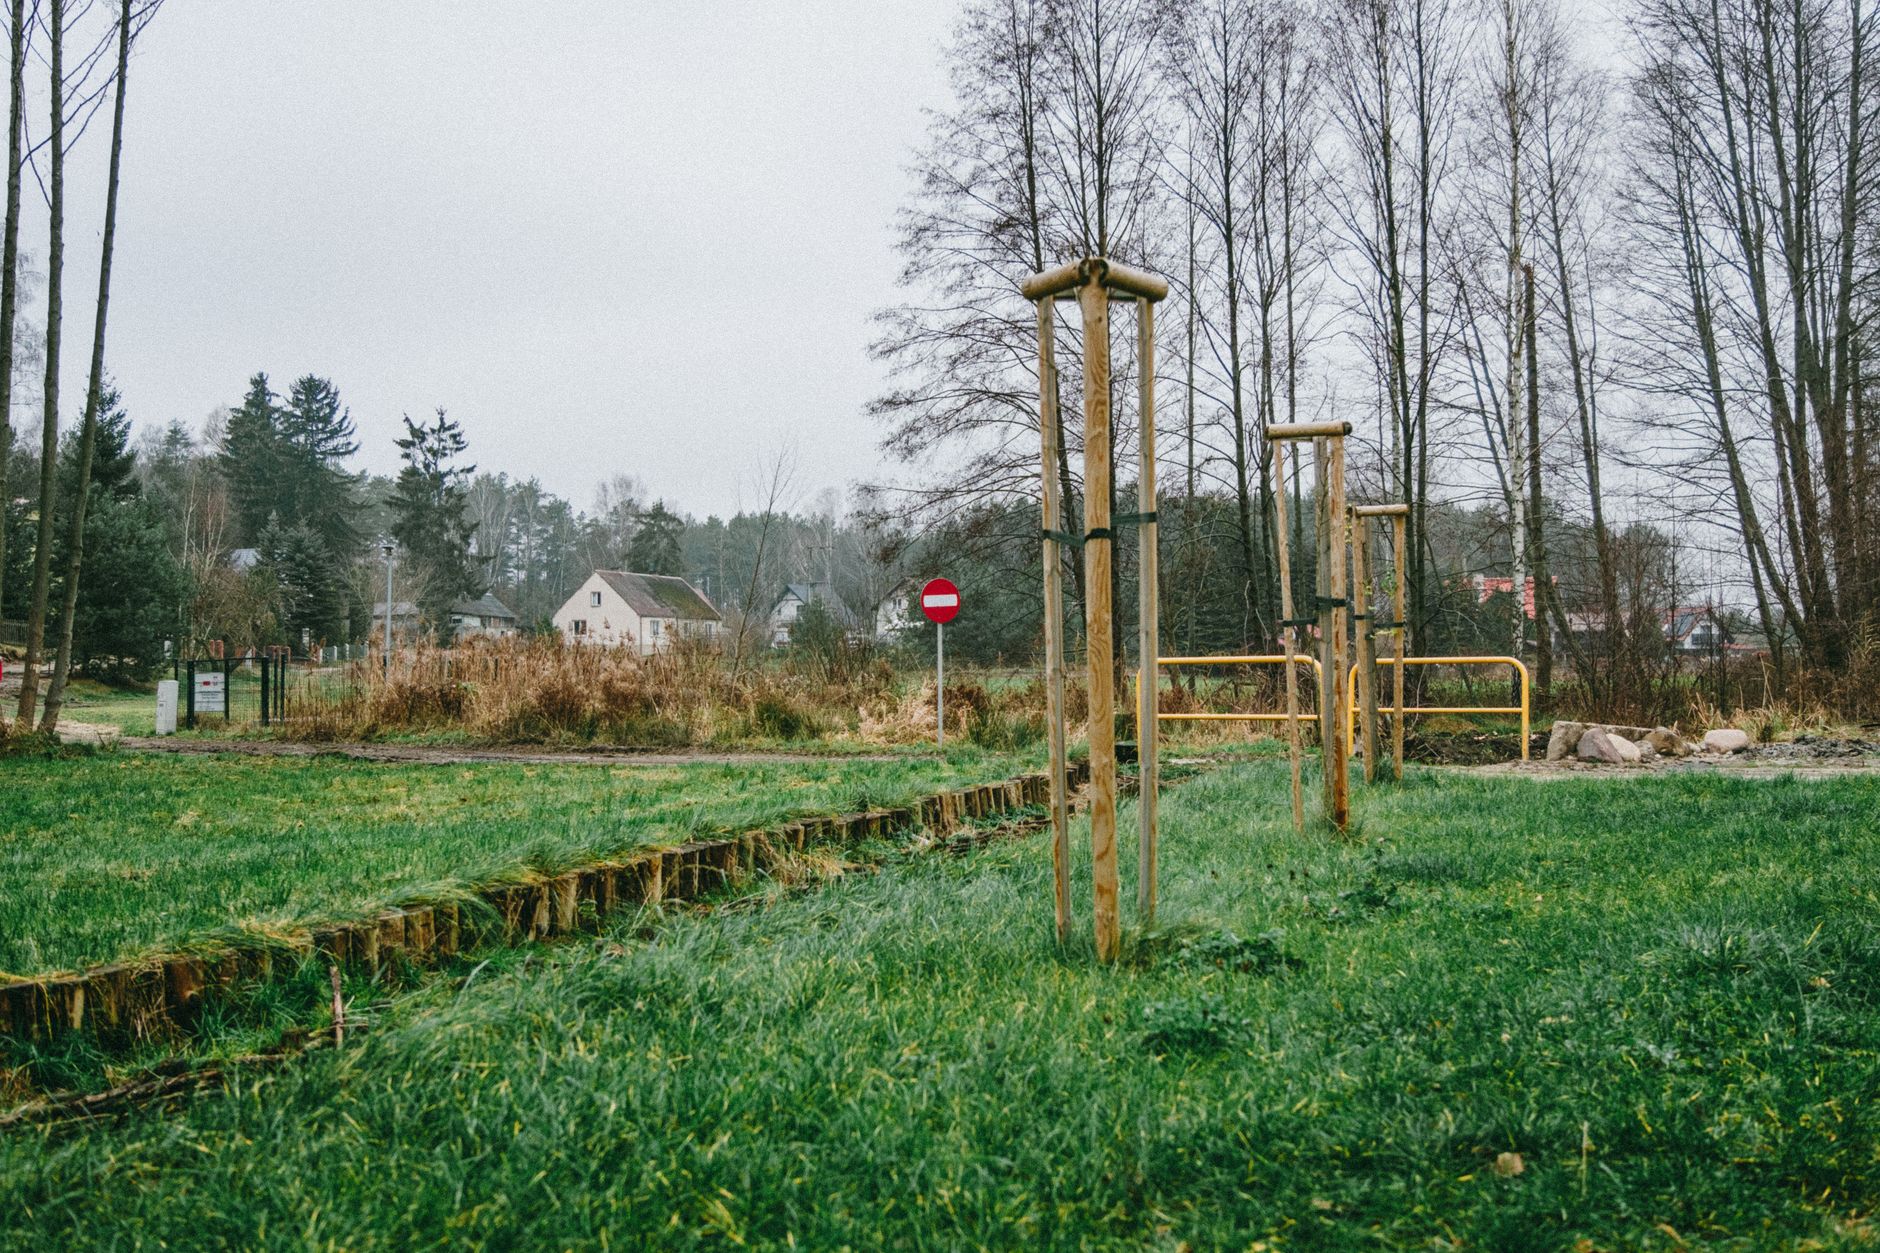
Many properly planted trees do not need stakes. Trunk movement helps a tree develop taper, while rigid or forgotten ties can rub bark and restrict growth. Support is reasonable when wind moves the root ball in the soil, the tree has a small or compromised root system, or the site cannot protect it from displacement.
Use broad, flexible ties on the lower half of the trunk and place supports outside the root ball where they will not damage major roots. The goal is to keep the root ball stable while allowing some trunk movement—not to hold the entire stem motionless. Keep ties clear of branches and bark, and make them conspicuous enough to inspect.
Stake temporarily
- the root ball rocks after soil is settled;
- the site is exposed to strong wind;
- bare-root or unusually top-heavy stock cannot remain upright.
Skip or remove support
- the root ball is stable without it;
- ties cut, rub, or hold the trunk rigidly;
- the first growing season has passed and the tree is established.
Record a removal date when stakes are installed. Temporary hardware easily becomes permanent when it disappears behind foliage.
Mulch the root zone without burying the trunk
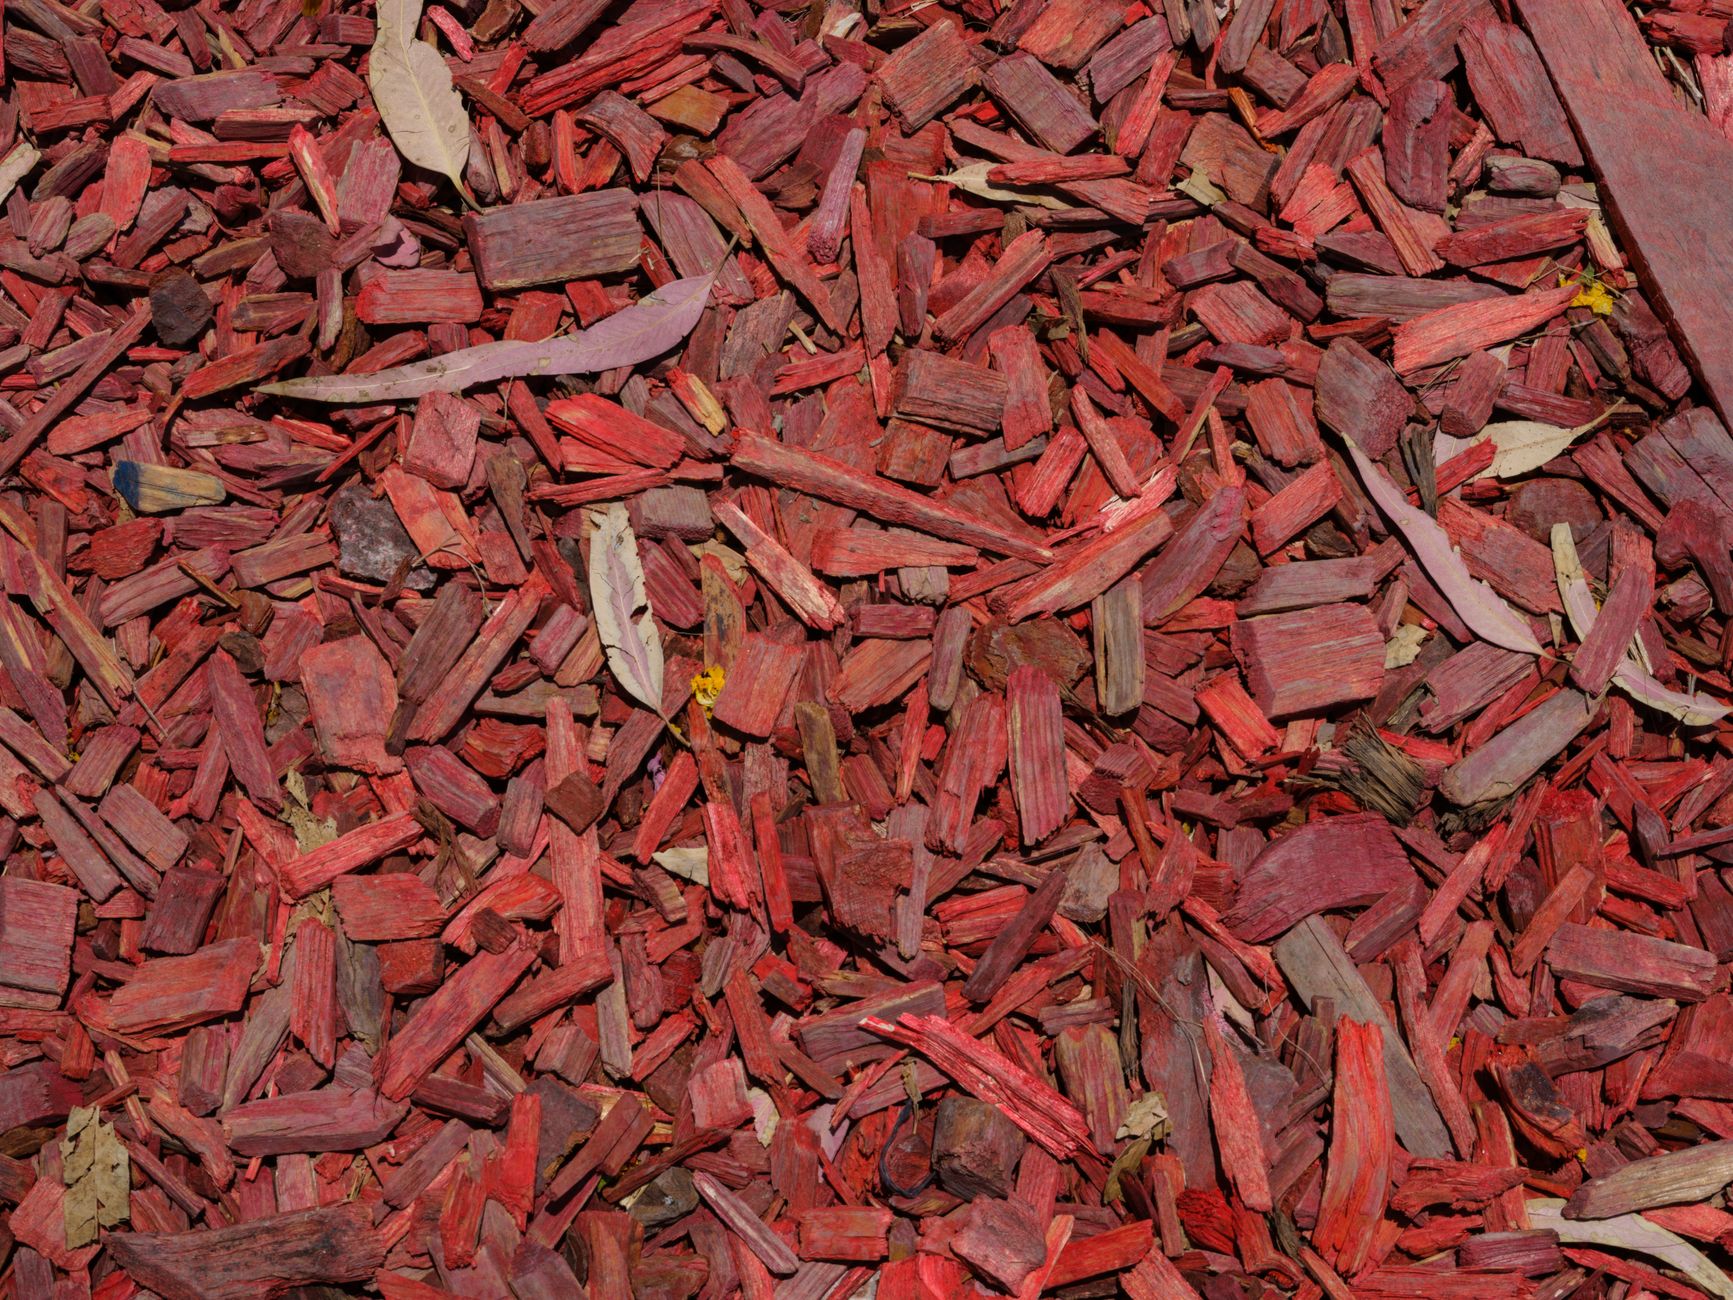
Spread an even layer of mulch over the disturbed soil and as much of the future root zone as practical. Surrey guidance gives a general depth of 5–10 centimetres and calls for a mulch-free space immediately around the trunk. The exact depth should suit the material: coarse chips can form a useful airy layer, while fine material mats more readily.
Shape a broad, nearly level ring or doughnut—not a volcano. Pull chips back until the flare is visible and no wet mulch rests against bark. Extend the outer edge rather than thickening the centre. The separate tree and shrub mulching guide covers depth, material, and repair of existing mulch mounds.
- Good mulch: broad, even, loose, and clear of the trunk.
- Too much: the flare disappears, lower bark stays damp, or roots begin growing into the mound.
- Too little benefit: a narrow decorative ring leaves most disturbed soil exposed while material is heaped at the centre.
Water by soil moisture and inspect through the first year
Water slowly across the original root ball and the adjoining backfill immediately after planting. After that, check moisture before adding more. Probe both zones because a peat-heavy container ball can dry while nearby clay stays wet, or a dense ball can remain saturated after surface soil appears dry. Rainfall is part of the schedule, not proof that every root received the right amount.
Through the first wet season, check that the tree has not settled, tilted, or developed standing water at the root ball. Through the first dry season, monitor several centimetres below the surface and water deeply enough to wet the active root zone without creating runoff. The new-tree watering guide gives a practical moisture-check routine.
- Re-expose the flare if soil or mulch washes against the trunk.
- Loosen or remove ties before they mark the bark.
- Top up mulch only where it has thinned; do not add a new layer blindly each year.
- Investigate repeated wilting, leaf scorch, or yellowing before assuming the answer is more water.
- Reassess drainage if the hole stays wet, smells sour, or the tree loosens in saturated soil.
A tree that remains stable, holds the correct grade, and begins extending roots into surrounding soil is on the right path. If the root flare was buried, the tree has settled substantially, or the site stays saturated, correct the cause early rather than covering the symptoms. Atkinson Landscaping can review the planting area when access, drainage, tree size, or root condition makes the installation more than a straightforward homeowner project.
References and further reading
- City of Surrey: Planting Trees
- City of Surrey: Replacement Trees and Tree Planting Guidelines
- International Society of Arboriculture: Planting a Tree
- Oregon State University Extension: Selecting, Planting and Caring for a New Tree
- University of Minnesota Extension: Planting and Transplanting Trees and Shrubs
- BC 1 Call: Homeowner locate requests