

The short answer: prepare the conditions before buying the plants
For a fall-planted bed in Surrey or Langley, first confirm that the soil is moist but workable, map drainage and utilities, remove persistent weeds, and improve the bed only where the soil assessment supports it. Choose plants for the actual light, moisture and mature space; keep crowns and root flares at finished grade; then water the root balls and cover the open soil with correctly placed mulch.
- Proceed: the bed drains predictably, soil crumbles rather than smears, and planting levels can remain above trapped water.
- Delay: the soil is saturated, the forecast leaves no establishment window, or weeds and utilities are unresolved.
- Redesign: runoff reaches a building, grade changes would bury existing roots, or the proposed plants will outgrow the available space.
Fall can be an efficient planting window in the maritime Pacific Northwest: soil often remains warm after air temperatures moderate, and seasonal rain can reduce—but never eliminate—the need for establishment watering. The advantage disappears when a crew works saturated soil, plants into an uncorrected low spot, or treats compost as a universal drainage fix. Use the sequence below to make the bed ready before the first container is opened.
Start with drainage and a workable-soil check

Check the bed during rain and again after the surrounding ground has begun to drain. Surface dampness is normal in a Lower Mainland fall; prolonged ponding, water moving toward a foundation, or a planting hole that refills from below is a different problem. The City of Surrey describes lot drainage as a connected system of absorbent soil, swales, pipes, hard surfaces and runoff routes. New plants should fit that system rather than block or conceal it.
Workable now
A handful is moist, breaks into aggregates with light pressure, and does not coat the shovel with a smooth, shiny layer.
Wait for drainage
Footprints remain glossy, digging leaves smeared sides, or machinery would rut the bed and compress its pore space.
Assess before planting
Water stands near the house, crosses a property line, emerges from an unknown source, or repeatedly kills plants in the same area.
When wetness is uncertain, use the yard drainage assessment guide before ordering soil or plants. Tilling wet soil can damage the structure needed for air and water movement, so waiting for a workable interval is preparation—not lost time.
Set the finished layout before disturbing the bed

Mark the bed edge, paths and each woody plant at mature spread—not at nursery-container width. Check overhead lines, meters, cleanouts, irrigation, fences, eaves, windows and gate access. Preserve inspection space around buildings and keep known swales or drains open. If the project changes grade, calculate the finished soil and mulch elevation before digging so that trunks, siding and paving are not buried.
- Use BC 1 Call before ground disturbance and locate private irrigation or lighting that may not be covered by utility records.
- Keep heavy equipment and stockpiled soil out of the root zones of trees that will remain.
- Do not raise soil over established roots or against existing trunks to make a bed look deeper.
- Place taller plants where their mature canopy will not obstruct doors, paths, sightlines or maintenance access.
A hose or removable marking paint is more useful here than a precise-looking plan that ignores the actual property. Walk the layout from the house, street and primary path before committing to excavation.
Remove weeds before adding better growing conditions

Strip seed heads and remove perennial weeds with as much root as practical while they are still identifiable. Do not simply turn persistent roots into a newly amended bed. Separate clean annual material from plants that can spread through rhizomes, fragments or viable seed, and follow local disposal guidance rather than dumping yard waste at a natural edge.
Remove now
- perennial roots, runners and crowns that will regenerate through mulch;
- seed heads likely to mature after the plant is pulled;
- landscape fabric that is restricting gas exchange or trapping old roots;
- construction debris, plastic and contaminated fill.
Keep and protect
- sound topsoil that can be improved rather than replaced;
- established roots that belong to retained trees and shrubs;
- stable drainage features and intended low points;
- clean leaves suitable for surface mulch where the planting plan allows.
Before replacing an unfamiliar ornamental, check the Invasive Species Council of BC PlantWise guidance. Attractive nursery plants are not automatically non-invasive, and “native” should not be assumed from appearance.
Read the existing soil before choosing an amendment
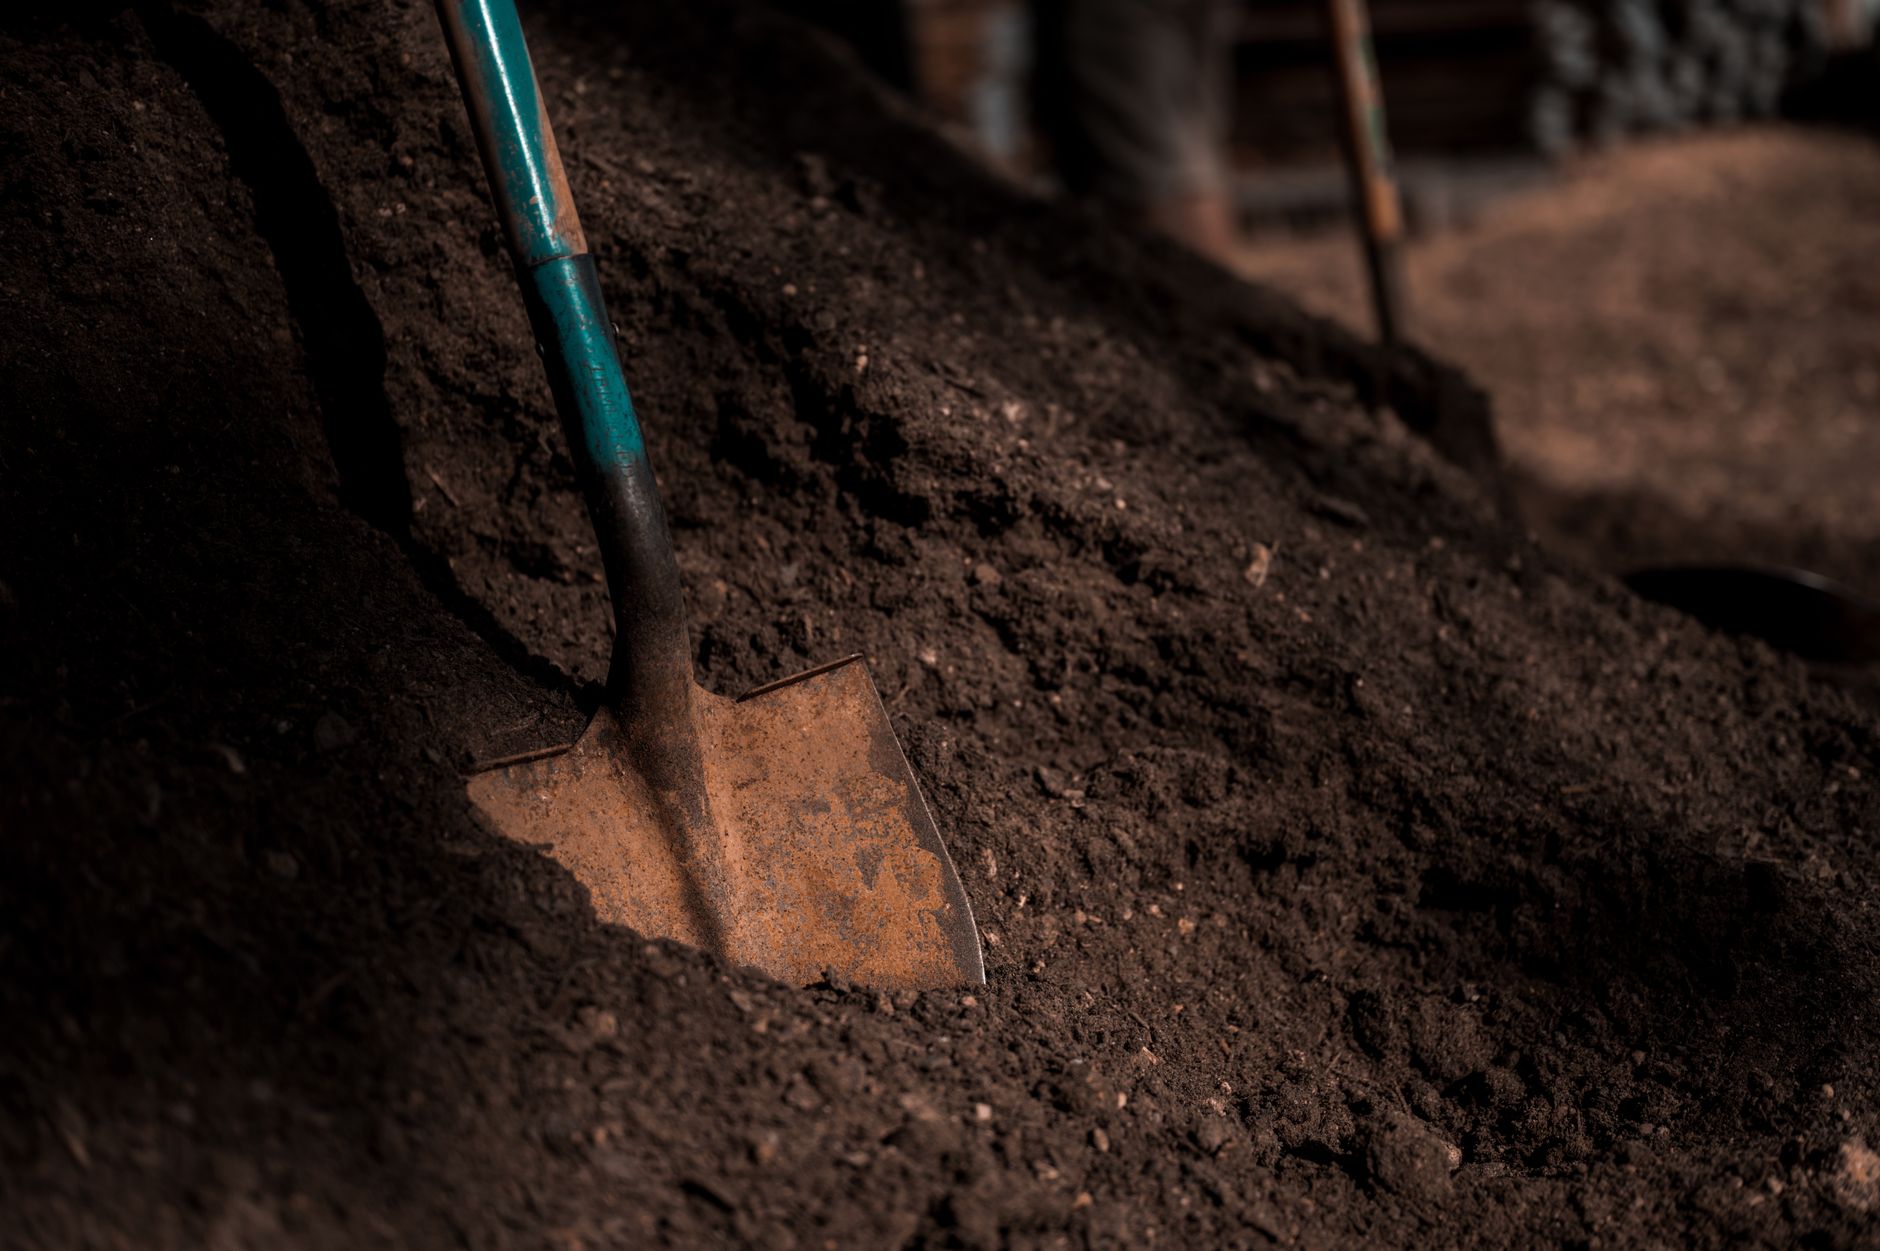
Open several inspection points across the proposed bed. Compare the upper soil with the layer below it, and look for compaction, buried rubble, old root balls, a sharp change in texture, sour odour or grey mottling associated with prolonged wetness. One sample at the easiest digging spot can miss the condition that will control the whole bed.
- Structure: does the soil form stable crumbs, hard plates, dense clods or loose sand?
- Water: does it accept moisture, shed it across the surface, or stay saturated below a dry-looking crust?
- Roots: are healthy fine roots distributed through the bed, confined to the surface, or circling in old planting pockets?
- Chemistry: if pH or nutrient correction is being considered, use a representative laboratory soil test rather than adding lime or fertilizer by habit.
Lower Mainland soils are not uniform, even between neighbouring lots. Imported fill, former construction access and small grade changes can matter more than a regional label such as “clay.” The goal is to improve the root zone you actually have.
Improve the whole root zone—not one rich planting pocket

Compost is a soil amendment, not a replacement for mineral soil and not a drain. Oregon State University Extension uses a 3–4 inch layer mixed into the upper 6–8 inches as a starting specification for new landscape areas. Surrey’s natural-yard-care guide similarly recommends incorporating organic matter through the garden root zone. Treat those as project references, then adjust for the actual soil, existing roots, drainage and product analysis.
- Use finished compost that is earthy-smelling and free of trash, large contaminants and an ammonia or sulphur odour.
- Spread the specified amount uniformly across a new open bed; do not backfill each woody plant with a radically different mix.
- Do not till through established tree roots or repeatedly add compost where testing shows no need.
- Do not fill a raised bed with compost alone; use an appropriate mineral-soil blend.
- Correct lime and fertilizer rates from a soil test and plant requirements, not from a generic fall checklist.
On dense fine-textured sites, read the clay-soil planting guide. A highly amended hole surrounded by slow-draining soil can hold water and keep roots confined instead of improving the wider bed.
Choose the plants only after the bed conditions are known

Build a short list from the measured light, drainage, exposure and usable space. Then verify the full botanical name and cultivar, mature height and spread, moisture range, hardiness, maintenance and whether the plant is invasive in BC. Fall discounts are not savings when the plant is wrong for the site.
Woody plants
Inspect the root flare, root-ball depth, circling roots and branch structure. Leave enough room for mature width and access.
Perennials
Confirm crown position, drainage tolerance, winter dormancy and the spacing needed when neighbouring plants reach full size.
Groundcovers
Check spread rate and invasive status. Plan how the bed edge and access points will be maintained after coverage closes.
Keep species claims honest: locally native, BC native, North American native and merely climate-adapted are different descriptions. Atkinson’s planting options page provides a practical starting point for discussing form and function, but the final palette still belongs to the specific site.
Plant to finished grade and protect the root flare

Set every plant against the finished elevation, including the mulch that will be added later. For trees, the International Society of Arboriculture recommends a shallow, broad hole, with the trunk flare visible after planting and the hole no deeper than the root ball. Find and expose a buried flare before deciding the planting depth; the top of a nursery container is not reliable evidence.
- Measure the root ball and open a broad hole without glazing wet sidewalls.
- Lift by the container or root ball, never by the trunk or stems.
- Inspect and correct circling or defective roots in a way appropriate to the plant.
- Place the flare or perennial crown at its correct finished level.
- Backfill mainly with the prepared site soil, stabilize gently, and water to settle it without stomping the root zone solid.
Staking is not automatic. Use it only where the root ball cannot remain stable or exposure warrants support, and plan timely removal. Avoid routine fertilizer in the planting hole; establishment depends first on correct depth, root-soil contact, water and oxygen.
Mulch, water, and decide whether the bed is winter-ready

Water each root ball thoroughly after planting, even when rain is expected; surrounding soil can be damp while the original container mix remains dry. Then monitor the root ball rather than watering by calendar. Fall rain may reduce irrigation, but sheltered beds and newly installed roots can still dry out. Conversely, automatic irrigation left on through wet weather can create saturation.
Apply coarse organic mulch over open soil and pull it back from woody stems and perennial crowns. Maintain the root flare and finished drainage paths. The tree and shrub mulching guide shows the placement details that prevent mulch volcanoes and buried bark.
Proceed and monitor
- water leaves the bed safely and root balls remain moist, not submerged;
- soil and mulch stay below siding, trunks, crowns and path surfaces;
- plants are stable, correctly spaced and labelled on a garden record;
- there is a realistic watering check for dry fall intervals and the first summer.
Pause or redesign
- the bed ponds after surrounding areas drain or sends runoff toward a structure;
- working the soil would compact it, or the project would bury retained roots;
- the only available plants miss the site’s light, moisture or mature-space limits;
- utilities, property drainage or invasive-plant disposal remain unresolved.
Photograph the finished planting levels and keep the plant list. Those records make spring inspection more useful and help distinguish normal dormancy from a planting-depth, drainage or establishment problem. For a bed that combines grading, drainage and substantial planting, Atkinson Landscaping can assess the site before materials are committed.
References and further reading
- City of Surrey and Metro Vancouver: A Resident’s Guide to Natural Yard Care for the Lower Mainland
- City of Surrey: Sustainable Drainage
- Oregon State University Extension: Fall Planting Offers Long-Term Benefits
- Oregon State University Extension: How to Use Compost in Gardens and Landscapes
- Oregon State University Extension: Improving Garden Soils with Organic Matter
- Washington State University Whatcom County Extension: Sustainable Landscaping
- Invasive Species Council of British Columbia: PlantWise
- International Society of Arboriculture: Planting a Tree
- BC 1 Call: Homeowner utility-locate information