

The short answer: protect the root zone, then solve only the risks your site actually has
Before a newly planted tree or shrub enters its first Lower Mainland winter, confirm that it is stable, planted at the correct level, moist inside the original root ball, and able to drain after rain. Correct mulch against stems, remove weak or forgotten ties, and identify exposure to wind, road salt, animals, or sliding snow. Do not wrap every plant, fertilize by habit, or keep irrigation running on a wet calendar.
- Ready: the root flare or shrub crown is visible, water drains, the root ball is moist rather than saturated, and the plant is stable.
- Correct now: mulch touches bark, ties are tight, the root ball is dry beneath a wet surface, or a known wind or salt path reaches the plant.
- Assess before winter: the planting hole repeatedly holds water, the trunk rocks at the soil line, branches are split, or grade and runoff threaten a building.
Surrey, Langley, and White Rock winters are usually more about repeated rain, wind, saturated soil, and short cold events than months of frozen ground. That does not make first-year care automatic. A transplant has a limited root system, and the conditions around that root ball can differ sharply from the rest of the bed. Use this sequence to inspect the installation without creating a new problem in the name of winter protection.
Begin with a first-year establishment check

Walk around the plant before changing anything. Confirm the botanical name and cultivar from the nursery record, then compare its expected hardiness, mature size, light, and moisture needs with the actual site. Canada’s plant-hardiness system combines several climate factors; a zone number is useful screening information, not proof that an exposed, poorly drained, or wrongly planted specimen will thrive.
At the stem
Look for bark damage, buried trunk flare, broken branches, rubbing ties, or a stem that rocks independently of the root ball.
At the root ball
Check moisture below the surface, settlement around the edge, cracks, circling material, and whether the root ball sits above trapped water.
Across the site
Trace roof discharge, low spots, prevailing wind, road spray, animal routes, and snow that may slide from a roof or be piled by a shovel.
Document the planting level and branch condition with photos. If you did not install the plant, those records help separate a pre-existing defect from later weather damage and make a spring comparison much more useful.
Water from a root-ball check—not from the rainfall total

Rain can wet the bed surface while a dense nursery root ball remains dry, especially beneath an evergreen canopy or roof overhang. The reverse also occurs: surrounding soil may look merely damp while the planting hole stays saturated. Push a narrow probe or finger into the root ball and the nearby soil where doing so will not damage major roots. Compare both zones before deciding to water.
- If the root ball is dry several centimetres down and drainage is sound, water slowly enough to wet the root ball rather than running off the bed.
- If it is evenly moist, check again after the next meaningful weather change instead of adding water by schedule.
- If it is saturated, stop irrigation and diagnose drainage; more water is not establishment care.
- Drain or protect seasonal irrigation components as appropriate, but remember that sheltered plants can still need winter checks.
City of Surrey guidance recommends deep, less frequent watering and notes that irrigation needs change with the season. Metro Vancouver likewise promotes mulch and root-zone watering to reduce moisture loss. The practical rule for a new plant is simpler: measure moisture where the new roots actually are.
Treat standing water as a drainage warning, not winter protection

Roots require oxygen as well as water. Watch the planting during a sustained rain and again after the rest of the yard begins to drain. A puddle that disappears with the storm is different from a root ball sitting in water, runoff moving toward the house, or the same low spot repeatedly losing plants.
Monitor
- surface water clears with the surrounding area;
- the plant remains upright and the root ball is moist but not submerged;
- water follows an intended swale or drain without eroding soil.
Investigate or redesign
- the hole refills from below or stays saturated after nearby soil drains;
- downspouts or paving concentrate water at the plant;
- new soil or edging blocks an established drainage route;
- raising the bed would bury a trunk, siding, or retained roots.
Use the yard drainage guide to map the issue. Do not dig a trench or redirect runoff across a property line as an improvised winter fix.
Recheck the root flare, crown, and finished grade

Settlement after planting can expose roots, but adding soil over a buried root flare is not the answer. Find where the first structural roots leave a tree trunk. That flare should remain visible at finished grade. For shrubs, keep the crown at the intended soil level and look for container media that has sunk or separated from the surrounding soil.
- Pull loose mulch and surface soil back gently enough to see the trunk flare or shrub crown.
- Check whether the root ball has settled as one unit, tilted, or developed open gaps around its edge.
- Fill small air cracks with compatible soil without mounding it against bark.
- Escalate a deeply buried, unstable, or waterlogged root ball before freezing weather or repeated storms make correction harder.
The International Society of Arboriculture and Pacific Northwest extension guidance both emphasize correct planting depth, a broad planting area, and post-planting care. If clay and trapped water are part of the problem, review the clay-soil planting guide rather than rebuilding only the top few centimetres.
Use mulch as a root-zone layer, not a trunk blanket
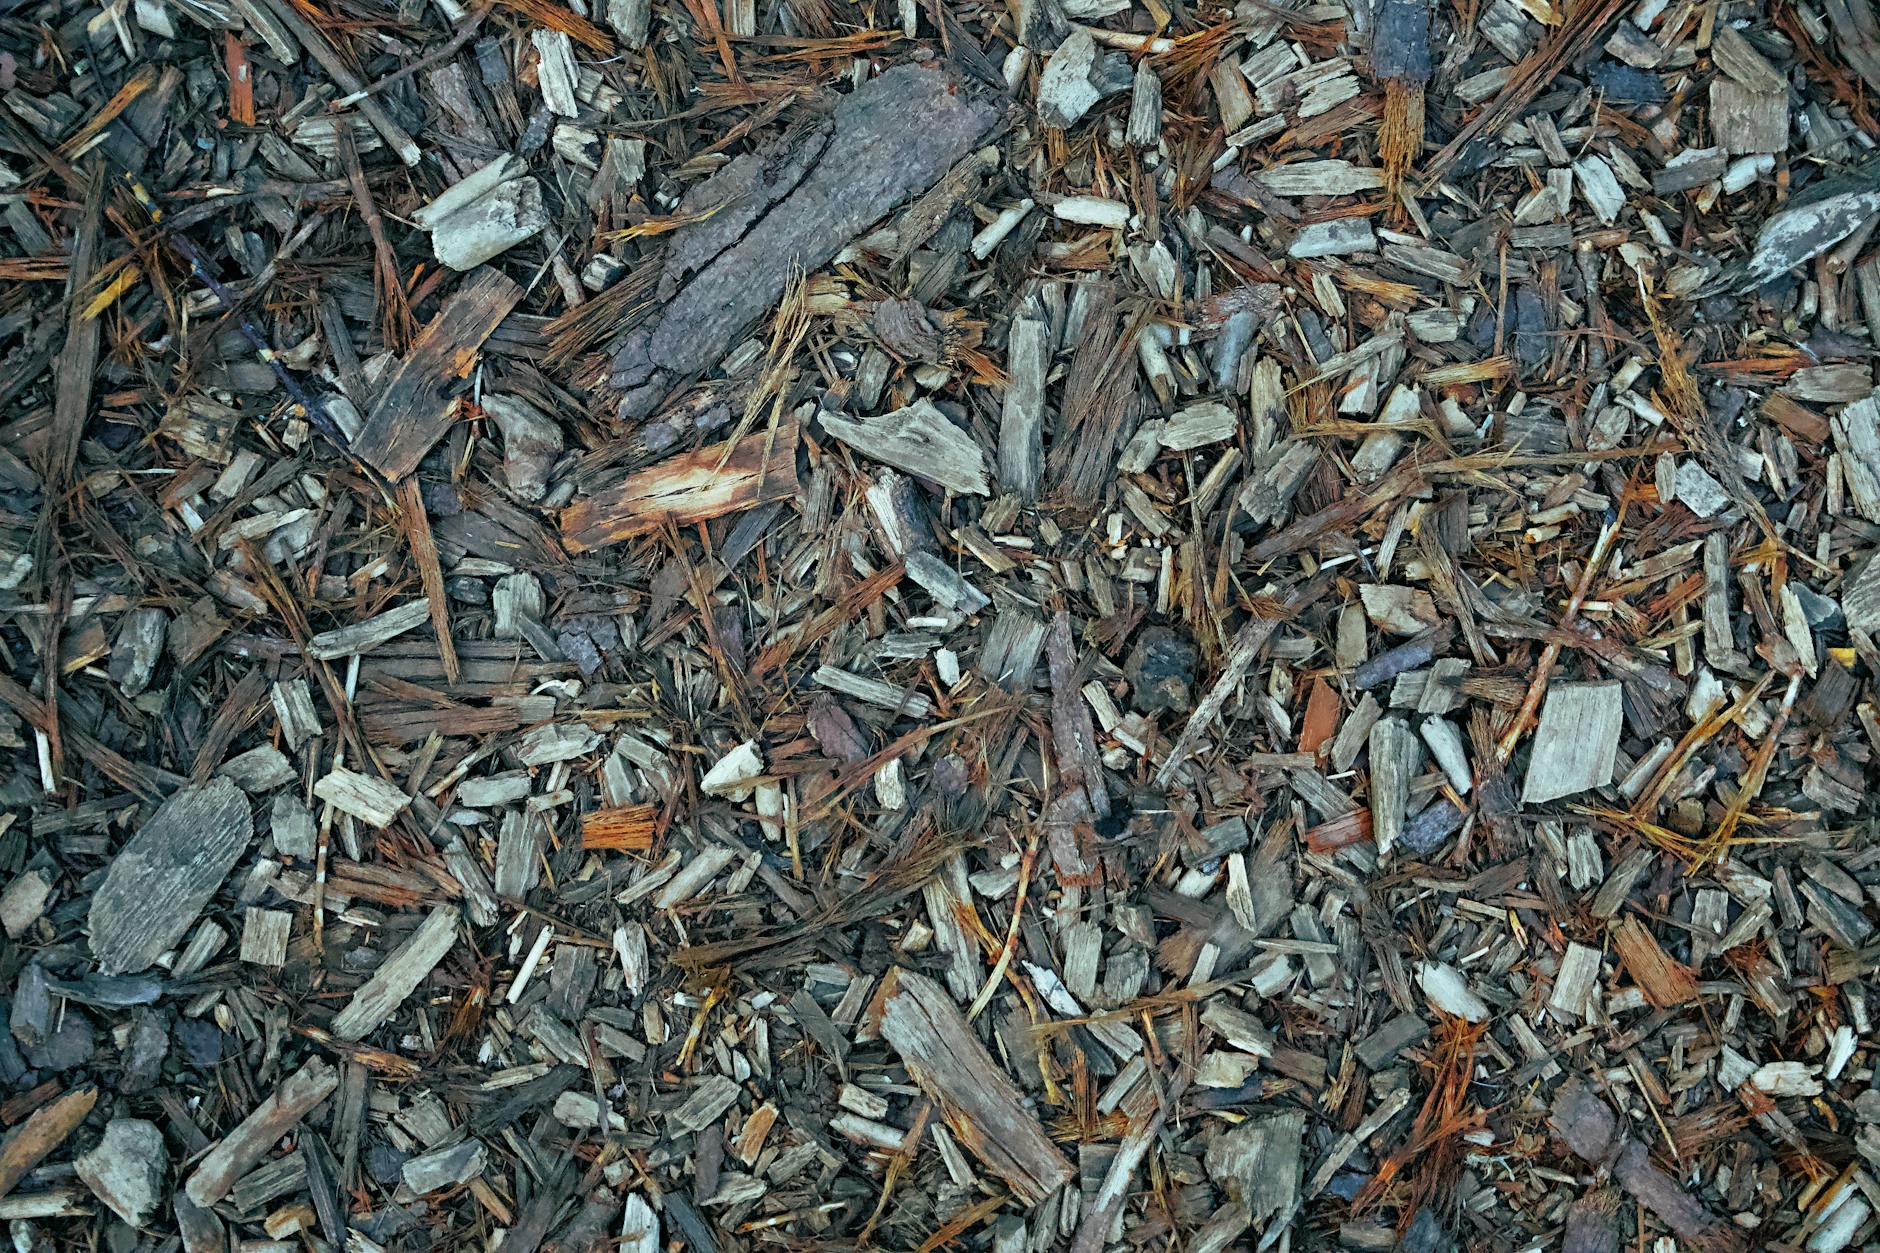
Mulch can reduce evaporation, buffer soil temperature, and limit competing weeds. It becomes harmful when piled into a volcano, pressed against shrub stems, or used so deeply that water has difficulty reaching the root ball. Spread an even layer over the open root zone and leave a clear ring around trunks and crowns.
- Redistribute existing mulch before buying more; depth should be judged after loose piles are levelled.
- Keep the root flare, graft area, shrub crown, and lower bark visible.
- Do not cover drainage inlets, irrigation emitters, or inspection points.
- Keep mulch from becoming hidden shelter directly against the stem where rodents are a known concern.
For placement details, use the tree and shrub mulching guide. More mulch is not more protection once the correct root-zone layer is in place.
Protect exposed evergreens selectively from wind, sun, and salt

New broadleaf and coniferous evergreens are more vulnerable where winter sun and wind reach foliage while cold or saturated roots cannot replace moisture efficiently. Salt spray and salty runoff add a separate injury risk near roads, driveways, and heavily treated walks. Protection should interrupt the exposure without crushing, overheating, or sealing the plant.
Wind and sun
Use a breathable screen on the exposed side where the site has a demonstrated problem. Leave air space around foliage and keep the top open.
Salt route
Redirect clean snow storage and reduce unnecessary de-icer near the bed. A screen may reduce spray but cannot fix salty water collecting at roots.
Snow load
Keep roof-slide and shovel piles off new plants. Do not beat frozen branches; support work should match the plant’s form and be removable.
Temporary staking is justified when wind moves the root ball, not merely because the trunk flexes. Check that ties are broad, loose enough for movement, and not rubbing bark; remove support when the plant is stable according to the installation plan. Oregon State University’s tree-care guidance warns that unnecessary or prolonged staking can interfere with normal development.
Avoid late work that stimulates or exposes tender growth

Do not apply fertilizer simply because winter is approaching. A new plant’s first priorities are correct installation, suitable moisture, and root-soil contact. Fertilizer should respond to a diagnosed need, the plant, and the soil—not a seasonal sales calendar. Likewise, avoid heavy late pruning that exposes the plant or encourages tender regrowth.
- Remove a broken, hanging, or hazardous branch with an appropriate cut; postpone cosmetic shaping.
- Do not shear evergreens late merely to make them look tighter before winter.
- Do not use wound paint as routine protection.
- Keep labels and loose ties from girdling expanding stems.
- Use species-specific protection only where hardiness, thin bark, animals, or a known microclimate warrants it.
University extension guidance on winter injury consistently separates prevention by site, water, and physical protection from attempted cures after damage occurs. The right action for a hardy, sheltered rhododendron may be no wrap at all; a thin-barked young tree beside reflective paving may need a specific seasonal guard.
Monitor through storms, then wait for spring evidence before pruning

Recheck new plantings after major wind, heavy wet snow, abrupt cold, and prolonged rain. Look for a shifted root ball, broken leaders, girdling support, drainage changes, exposed roots, or protection that has collapsed onto foliage. Photograph changes instead of repeatedly handling cold branches.
Wait and observe
- evergreen foliage is bronzed but buds and twigs remain viable;
- a deciduous plant is dormant with no split bark or broken structure;
- the root ball is stable and moisture is appropriate.
Arrange an assessment
- the trunk or whole root ball has shifted;
- water remains around roots after the yard drains;
- bark is split, branches are hanging, or a tree may affect people or property;
- spring buds fail while comparable branches or nearby plants resume growth.
Many apparently brown tips should be left until growth resumes and the boundary between living and dead tissue is clear. If first-winter problems involve grading, plant suitability, or several failed specimens rather than one damaged twig, Atkinson Landscaping can review the site conditions before replacement material is ordered.
References and further reading
- City of Surrey and Metro Vancouver: A Resident’s Guide to Natural Yard Care for the Lower Mainland
- City of Surrey: Water-Wise Lawns and Gardens
- Metro Vancouver: Water Conservation Tips
- Oregon State University Extension: Selecting, Planting and Caring for a New Tree
- Oregon State University Extension: December Garden Calendar
- Washington State University Extension: Trees and Woody Landscape Plants
- International Society of Arboriculture: Planting a Tree
- University of Minnesota Extension: Protecting Trees and Shrubs in Winter
- Natural Resources Canada: Canada’s Plant Hardiness Zone Maps