

The short answer: move a manageable shrub only after the new site is ready
Fall can be a useful transplanting window in the Lower Mainland because the air is cooler and the soil often remains workable, but rain does not make every move safe. First identify the shrub, confirm that the destination suits its mature size, light, and drainage needs, and decide whether you can lift a stable root ball without unsafe digging or machinery. Prepare the new hole before cutting roots, move the shrub by the root ball rather than its stems, replant at its previous growing depth, water once to settle soil, and then monitor the root zone instead of watering by calendar.
- Reasonable DIY move: a healthy, moderate-size shrub with accessible roots, a short travel path, and a suitable prepared destination.
- Postpone: the ground is saturated, a heat or freeze event is imminent, the destination still has drainage or space problems, or you cannot provide establishment care.
- Get help: the shrub is large or valuable, utilities may be involved, roots are under paving or structures, or the root ball cannot be moved safely by hand.
A successful transplant is not just a digging job. It is a controlled trade: some roots will be lost, so the move must preserve enough functioning root mass while reducing every avoidable stress at the destination. In Surrey, Langley, and White Rock, the common fall mistake is to assume steady rain will handle aftercare. The same weather that reduces drying can leave a new planting hole short of oxygen.
Decide whether moving the shrub is better than replacing it

Start with identity and condition. Confirm the species or cultivar if possible, because transplant tolerance, mature spread, flowering cycle, and moisture needs vary. A young deciduous shrub that was planted recently is a different project from an old rhododendron woven through a retaining wall or a broad cedar beside buried services.
Moving may be worthwhile
- the shrub is healthy but misplaced for access, design, light, or mature clearance;
- the root area is reachable from several sides and the travel path is short;
- the destination corrects the original mismatch rather than repeating it;
- the plant has practical, sentimental, or replacement value that justifies the risk.
Replacement may be more responsible
- the plant is already declining from disease, severe girdling, decay, or chronic root damage;
- a useful root ball would be too large or heavy to handle safely;
- major roots disappear beneath a wall, driveway, foundation, or utility corridor;
- the species is unsuitable for both the current and proposed conditions.
Do not reduce a large shrub to a small root ball simply because that is what fits in a wheelbarrow. Root loss is the main constraint, and severe top pruning does not restore missing roots. For a mature specimen, an experienced landscape contractor or arborist can assess equipment access, root-ball size, and whether preservation is realistic.
Confirm the destination before disturbing the roots

Measure the destination as if the shrub were already mature. Check distance from walls, eaves, paths, gates, windows, fences, and neighbouring plants. Observe direct sun in the growing season rather than labelling every north-facing bed “shade.” Compare the moisture needs on the plant tag or a botanical source with what happens on site during summer drought and prolonged winter rain.
- Drainage: follow downspouts, paving runoff, low spots, and retaining-wall seepage. Use the yard drainage guide before moving a shrub into a questionable bed.
- Soil: compare the destination with the old root zone. A loose nursery-style root ball placed in compacted clay can behave like a separate container.
- Clearance: use expected mature width, not the width after pruning. A shrub should not require constant shearing merely to keep a path open.
- Access: plan how the root ball will travel without being dragged by stems or rolled down steps.
Locate underground services before digging. BC 1 Call advises homeowners to request information for outdoor digging projects large or small. Private services such as irrigation, landscape lighting, or lines beyond the utility owner’s mapped area may require separate locating.
Prepare the plant, route, and tools before the first root is cut

Choose a cool, calm working period when the soil is moist enough to hold together but not saturated. If the root zone is dry, water it in advance and allow excess water to drain. Mud smears and compacts; powder-dry soil falls away from fine roots. Tie flexible branches inward loosely only when needed for access, and protect bark from tight cord.
Before digging
Photograph the shrub, mark the side facing north if orientation matters to you, and note the original soil line at the stems or crown.
For the lift
Prepare a tarp, rigid board, sled, or suitable cart. Estimate the wet weight honestly; soil becomes heavy quickly.
For replanting
Stage native backfill, water, mulch, and broad temporary ties only if the shrub is likely to be unstable.
Do not fertilize to “give it a boost,” and do not shear the canopy into a smaller shape before moving. Remove only broken or clearly dead material. Heavy pruning can remove stored energy and, on spring-flowering shrubs, next season’s flower buds.
Dig the new hole wide and no deeper than the root ball
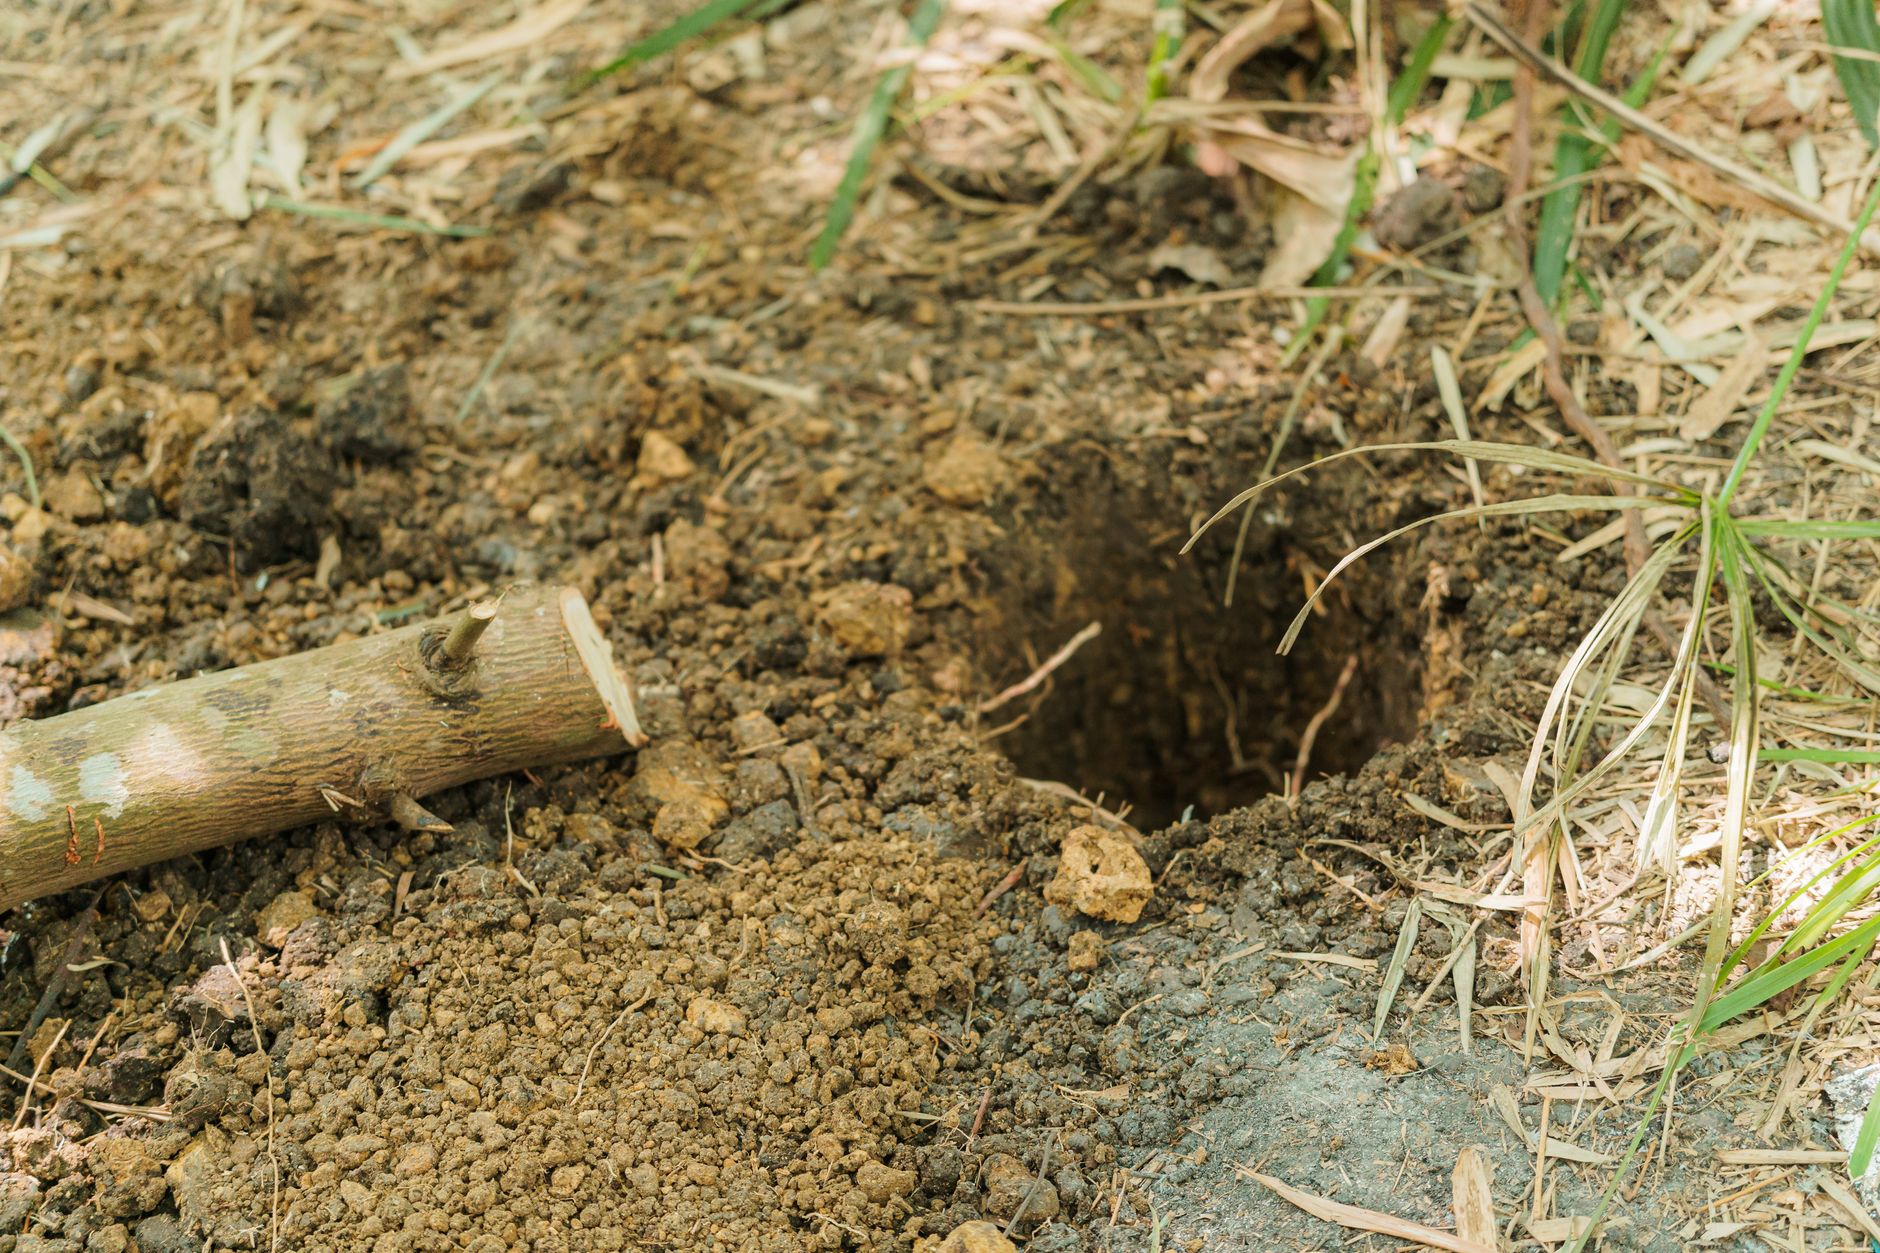
Washington State University and the International Society of Arboriculture both emphasize broad, shallow planting holes. The base should support the root ball without later settlement, while the sides provide room to work soil around the outer roots. Do not automatically dig a deep pit and refill the bottom with loose soil; the shrub can sink after watering.
- Estimate the root-ball width you can preserve and open the destination wider than that estimate.
- Keep the centre of the hole firm and initially slightly shallower than the expected ball.
- Roughen glazed sides in compacted soil without creating an unstable bowl.
- Keep excavated soil nearby for backfill and remove construction debris or large rocks.
- Test the surrounding drainage before planting if the site has a history of ponding.
Gravel in the bottom is not a cure for poor drainage. If water persists where roots must live, redesign the bed, choose a better-adapted plant, or solve the larger drainage issue. Review the clay-soil planting guide before turning one wet hole into another.
Preserve a stable root ball and move it from below

Mark a circle around the shrub that produces the largest root ball you can safely keep intact. There is no honest universal diameter: species, age, soil texture, prior nursery production, and available equipment all matter. Cut down with a sharp spade around the perimeter, then work under the ball gradually. Stop if major structural roots, unstable soil, or unexpected services make the original plan unsafe.
- Keep the root ball shaded and moist; do not leave it exposed while the destination is still being redesigned.
- Lift and support from beneath the soil mass. Never use trunks or branches as handles.
- Slide the ball onto a tarp or board rather than shaking soil away or dropping it into a cart.
- Keep orientation upright during transport and protect the canopy from crushing.
- If the ball breaks apart, preserve remaining roots from sun and wind and reassess whether the plant can be moved without further damage.
Very large shrubs may need advance root pruning, a machine-dug ball, or a different season and care plan. Those are designed operations, not useful last-minute improvisations.
Set the shrub at its previous depth and backfill without a soil pocket

Lower the shrub onto firm soil and rotate it for its best structure and clearance. Find the original soil line and crown; they should remain visible after settlement. In slow-draining soil, planting too deep is especially damaging because roots already face limited oxygen. Adjust the firm base beneath the root ball rather than burying the top to make the bed look level.
- Check the shrub from more than one direction before backfilling.
- Use the excavated site soil around the ball unless a site-specific soil plan calls for broader bed improvement.
- Break large clods and work soil into voids gently; do not stomp the planting area.
- Water during or immediately after backfilling to settle soil around roots, then correct remaining gaps.
- Keep stems, crown, and the top of the root ball free of added soil.
A small basin at the outer root-ball edge can help direct establishment water on a well-drained site, but it must not become a permanent pond. If the shrub rocks after planting, correct the root-ball support first. Stake only when instability remains, use broad flexible ties, and plan removal rather than leaving supports to girdle stems.
Water from direct moisture checks, even during fall rain
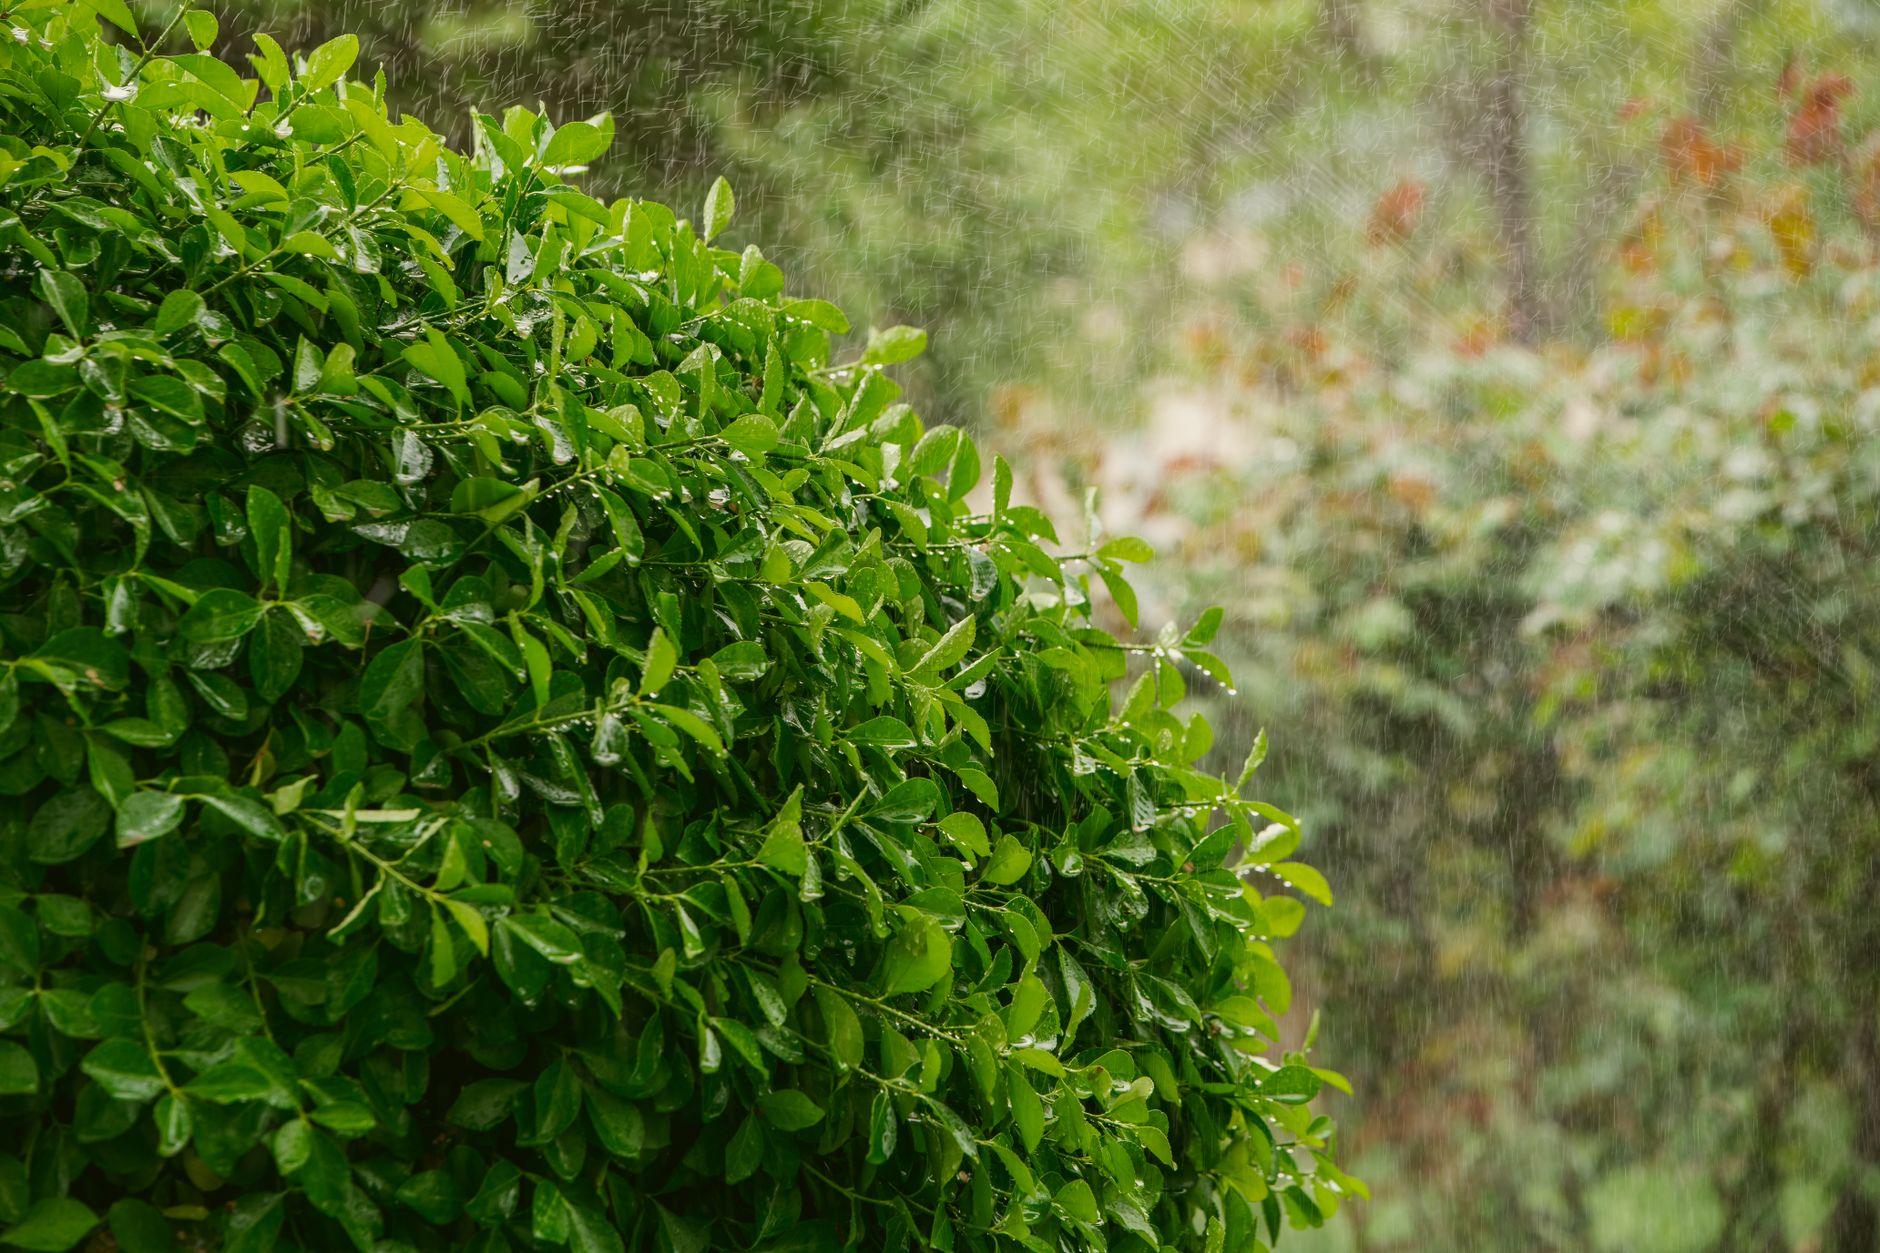
Water thoroughly after planting to settle soil and make contact around roots. After that, check rather than guess. Probe both the moved root ball and the surrounding bed several centimetres below the surface. They may dry or drain at different rates, particularly where container-style media or an intact clay ball meets native soil.
Water
- the root ball is becoming dry below the surface;
- the surrounding soil drains and can accept water;
- the shrub is sheltered by eaves or evergreen foliage that sheds rain.
Stop and diagnose
- the root ball is saturated or water remains in the planting area;
- runoff repeatedly fills the hole from paving, a roof, or upslope ground;
- the shrub tilts as wet soil loses support;
- foliage wilts while the root zone is already wet.
University of Minnesota guidance notes that newly planted trees and shrubs need more attentive watering than established plants, while the City of Surrey’s natural yard-care guidance stresses matching plants to the site and avoiding waterlogged soil. Use the new tree and shrub watering guide for the same root-zone-first method.
Mulch lightly, monitor through winter, and judge recovery in spring
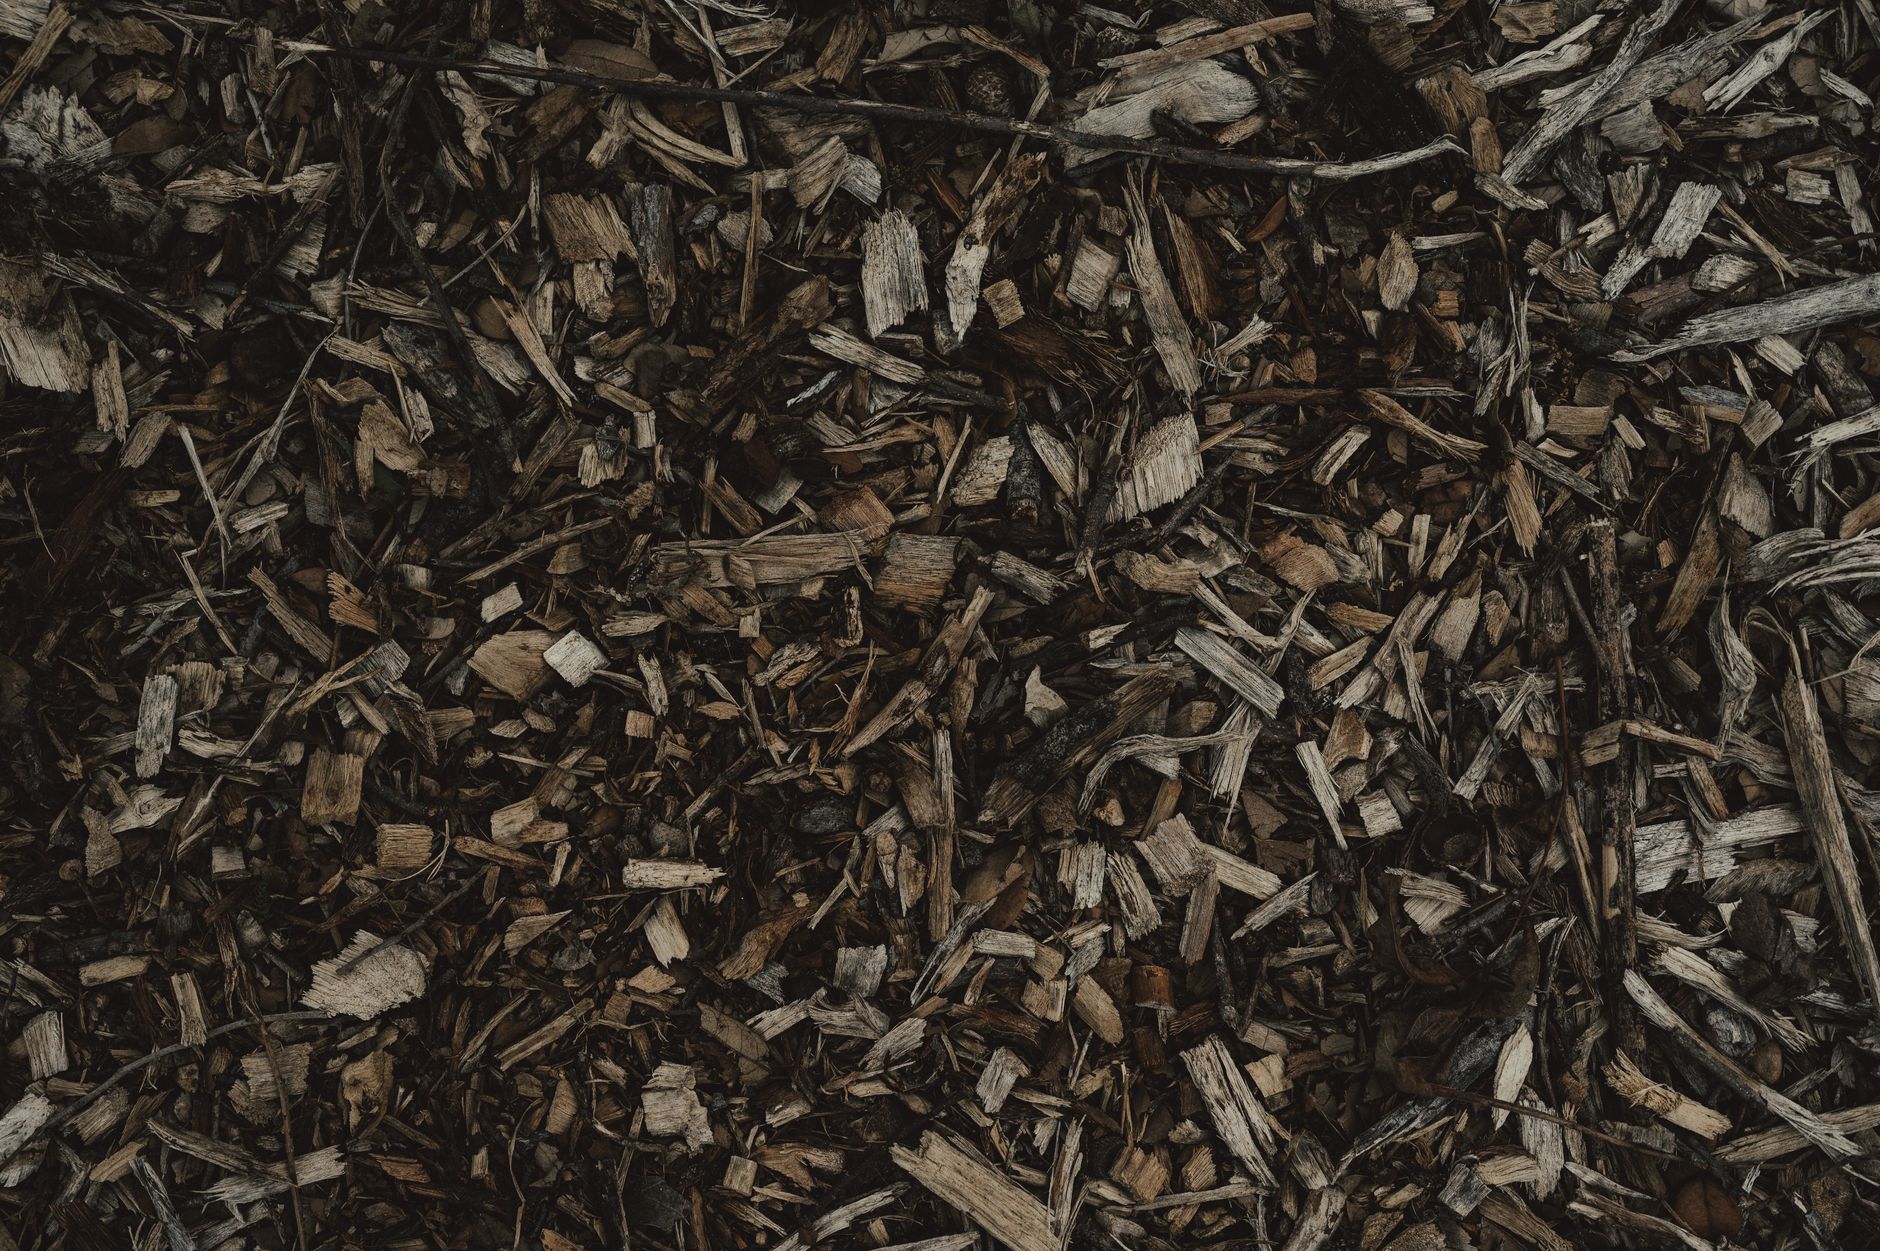
Apply an even layer of coarse organic mulch over the disturbed root zone, not against the stems. Mulch limits weeds and moderates moisture, but a deep mound can hide settlement, keep bark wet, and make inspection difficult. The mulching guide explains placement in more detail.
- Recheck after heavy rain and wind for ponding, exposed roots, rocking, or a buried crown.
- Keep foot traffic and equipment off saturated soil around the new root zone.
- Delay fertilizer and routine shaping; remove only broken, dead, or hazardous growth.
- Maintain a simple photo and moisture record instead of reacting to every autumn leaf.
- In spring, look for live buds and new growth before deciding which tips failed.
Some dieback can follow a move even when the shrub survives. Arrange an assessment if the whole root ball shifts, water remains after surrounding ground drains, bark splits, most buds fail while comparable plants resume growth, or decline continues despite appropriate moisture. If moving the shrub is part of a larger bed redesign, Atkinson Landscaping can review the site conditions before more roots are cut.
References and further reading
- City of Surrey and Metro Vancouver: A Resident’s Guide to Natural Yard Care for the Lower Mainland
- Oregon State University Extension: Fall Planting Offers Long-Term Benefits for Trees, Shrubs and Perennials
- University of Minnesota Extension: Planting and Transplanting Trees and Shrubs
- Washington State University Extension: Planting Trees and Shrubs in the Landscape
- International Society of Arboriculture: Planting a Tree
- BC 1 Call: How to Use BC 1 Call for Homeowner Projects